


How to Create Professional Product Photos Without a Studio
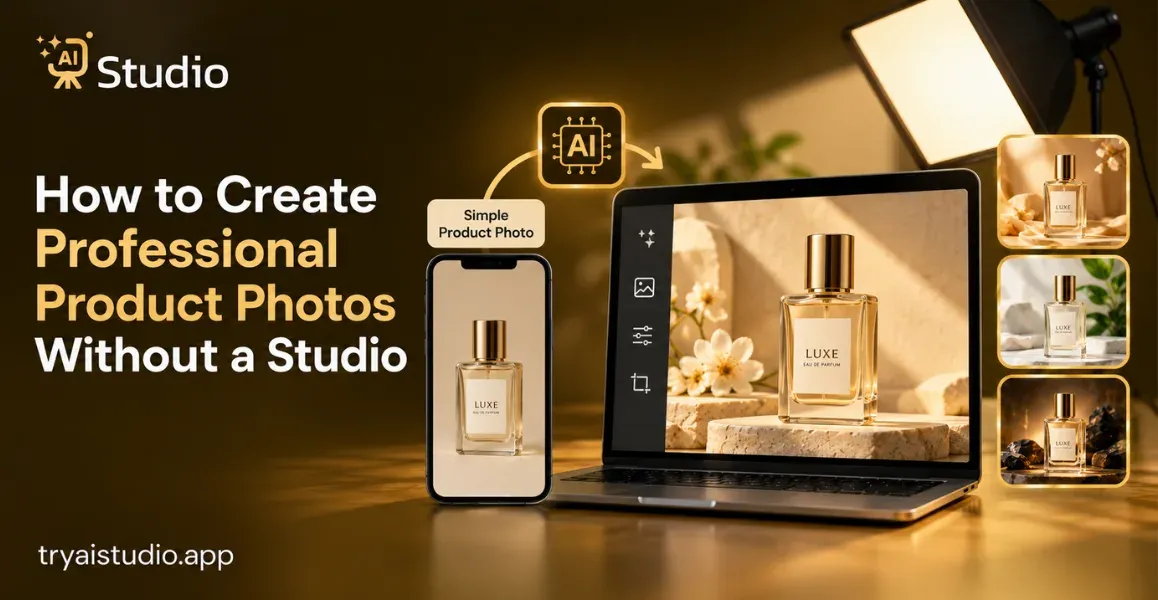
Let me ask you an honest question. Have you heard of any seller stopping their store launch because their photo shoot quotation was Rs 20k +?
If yes, then read on, and I will reveal the truth: there are a plethora of methods to do your product photography without a studio, and many Indian sellers are using these methods on Amazon, Flipkart, and Shopify
In this article, you are going to discover 3 ways (simple phone camera setup, AI tool and a hybrid of camera +AI) so that you can decide which method suits your budget, product, and time constraints and sell visually appealing products online without blowing your budget on expensive photo shoots
What Makes a Product Photo Look Professional?
So, can you do that? Yes. You need proper lighting, a good background, and a stable phone or an AI that does all this for you. These are the basics of photography without a studio and are applicable to most online sales. Before showing you the setups, let me explain what potential buyers see.
The three things buyers notice
Think about it this way. When you scroll through Amazon or Flipkart, you decide in a second or two whether a listing looks worth clicking. Three things drive that feeling.
- Light: Soft, even light shows true colors and texture. Harsh light creates dark shadows and shiny patches.
- Background: A clean background keeps attention on the product. A messy room behind your kurta or earrings makes the listing look careless.
- Sharpness: Blurry photos make buyers doubt the quality of the product itself.
Get these three right and your photos look professional almost instantly.
Why gear matters less than you think
I spoke with several sellers who purchased a 60,000 Indian Rupee camera and continued to take underwhelming photos because the lighting in their room was inappropriate. I have seen someone take a photo of an item next to a window using their phone and have it sell for hundreds of rupees. The equipment used can aid in the creation of extraordinary photos, but lighting and the background are more crucial aspects. This is why product photography tips for sellers so often focus on light before gear, and why photography without the use of professional equipment is essential to most listings and ideal for beginners.
What You Need for DIY Product Photography at Home
Good news: product photography without a studio does not need much gear. Most of what you need is already at home, or costs less than a restaurant dinner. Let me walk you through the basics.
Your phone
Any phone from the past four or five years can take sharper photos. Smartphone product photography has evolved so much that many buyers can't tell the difference on a phone's screen, where many Indian shoppers hang out. The only thing you need to do is clean your own lens before every shoot. Fingerprints are the primary reason for hazy photos.
Window light, reflector, and tripod
Window light is the best free light source you have. Place your product near the window, but not in direct sunlight. If the light is too strong, hang a light curtain (thin white cotton) over the window.
Then place a white foam board (or white card) on the other side as a reflector. This will bounce the light back and illuminate the shadowy areas. A small tripod will keep your phone in the same position for every shot, guaranteeing consistent results. And that's it. Here's a reminder of how to get good product photography lighting at home.
Backgrounds and surfaces
A good product photo background can be as simple as a white bedsheet, a poster board, or a plain sheet of chart paper. Curve it up against the wall so that there is no sharp line at the back of your product. For lifestyle shots, a wooden tray, plywood, or plain piece of cloth works fine. Here is a rough cost for budget product photography:
- White foam board or chart paper: about ₹50 to ₹150
- Phone tripod: about ₹300 to ₹1,000
- Backdrop (poster board or plain cloth): about ₹100 to ₹400
- Total: roughly ₹450 to ₹1,550, or about $5 to $18
Prices vary by city and brand, but that is the ballpark. With this small kit, professional product photography at home is realistic, and it is the heart of DIY product photography.
Step-by-Step: How to Take Product Photos at Home
A good product photo background can be as simple as a white bedsheet, a poster board, or a plain sheet of chart paper. Curve it up against the wall so that there is no sharp line at the back of your product. For lifestyle shots, a wooden tray, plywood, or a plain piece of cloth works fine. Here is a rough cost for budget product photography:
Set up your light and background
Start with the space. It takes five minutes.
- Place a table next to a window so the light falls on the product from the side.
- Put your white reflector on the opposite side of the product.
- Place your backdrop behind the product and curve it up against the wall.
- Keep the product in the centre with some empty space around it.
Phone settings and shot list
Now the phone. These small settings make a big difference, and product photography with a phone gets much easier once you follow the same routine for every item.
- Turn on the grid lines in your camera so the product stays straight.
- Tap on the product to focus, then press and hold to lock focus and brightness.
- Put the phone on the tripod and use a 2-second timer so your hand does not shake the shot.
Then click these angles for every product:
- Front view
- Back view
- Side view
- 45-degree angle
- Top-down flat lay
- Close-up of details like fabric, stitching or clasps
- Lifestyle or in-use shot
Common mistakes to avoid
I've reviewed many seller photos, and the same errors come up again and again:
- Shooting in harsh direct sunlight, which creates strong shadows
- Using the flash, which makes glossy items look washed out
- Leaving a cluttered background with cables, bottles or bed corners visible
- Using different lighting and angles for each product, which makes your store look messy
- Zooming digitally, which lowers quality. Move closer instead
A few quick tips by category. Jewelry photography- use a plain background and some nice soft lights, so you can avoid having reflections on precious metals.
Clothing photography- iron the clothes and then hang them or lay them on a table for a neater look. When photographing containers made of glass or steel, keep the window to your side so you can't see your own reflection.
How to Edit and Clean Up Your Photos
Even the best product shots without a studio backdrop need some retouching. The good news is that you do not need to use Photoshop to polish the images. A few free apps like Snapseed or Lightroom Mobile will be enough to make your photos look professional.
Take a look at the most essential step-by-step guide below.
First, you need to crop the image so that your product takes up most of the space. Then, you should increase the exposure and adjust the white balance so that white objects actually appear white. Finally, you should get rid of any distracting elements and edit the background, which is necessary if you are planning to sell your goods on Amazon or another marketplace that requires a white background for product photos.
Now, let me tell you the truth about photo editing. It is super time-consuming, especially when you have 50 or 100 products to photograph and post. Trust me, sifting through each photo one by one will suck up your entire weekend.
Lifestyle shots are also incredibly difficult to capture on a budget, especially if you want to make your brand look professional. This is why more and more ecommerce sellers are now choosing to use AI to generate product images.
AI Product Photography: Studio-Quality Photos Without Any Setup
AI tools have transformed the way small sellers think about product photography in the absence of a studio. Instead of fiddling with lights, posing, and choosing props, one uploads a photo and lets the tool do its work. Let me explain it in simpler language.
How AI product photography works
In short, you upload an image of the product, indicate the desired design, and receive a picture of a studio-made composition. An AI product photo generator is a tool that reads the product, retaining its form and details, and placing it on the desired background or turning it into a lifestyle photo or a model.
Generate product photos with this service in the shortest time possible. Without the need for lights, space, and a professional, the process is quick and straightforward. So you can think of it as a virtual product photo shoot; this way, no photos are taken in real life. If you want to get rid of the need for a professional photo studio and save time on shoots, this option will suit you.
How to use AI Studio, step by step
AI Studio (tryaistudio.app) is one tool built for this. Here is the exact flow, so you know what to expect before you start.
1. Create an Account or Log In
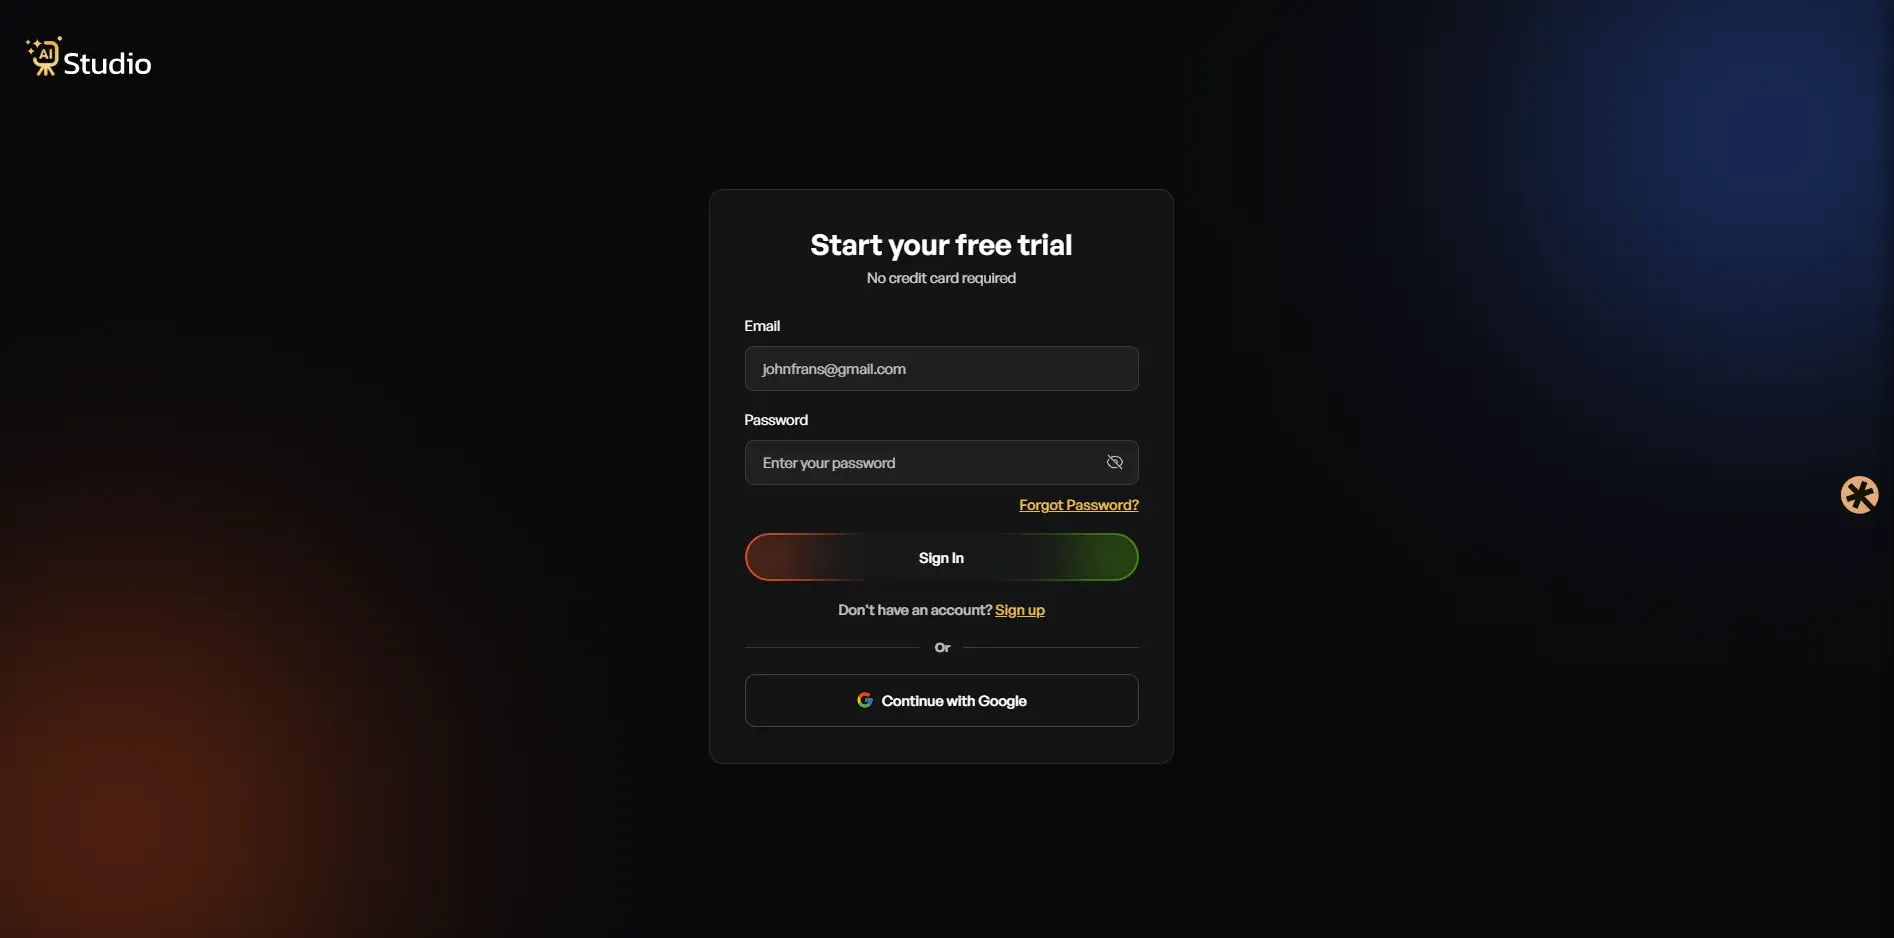
- Go to tryaistudio.app.
- Create a new account or log in if you already have one.
2. Choose Photo Studio
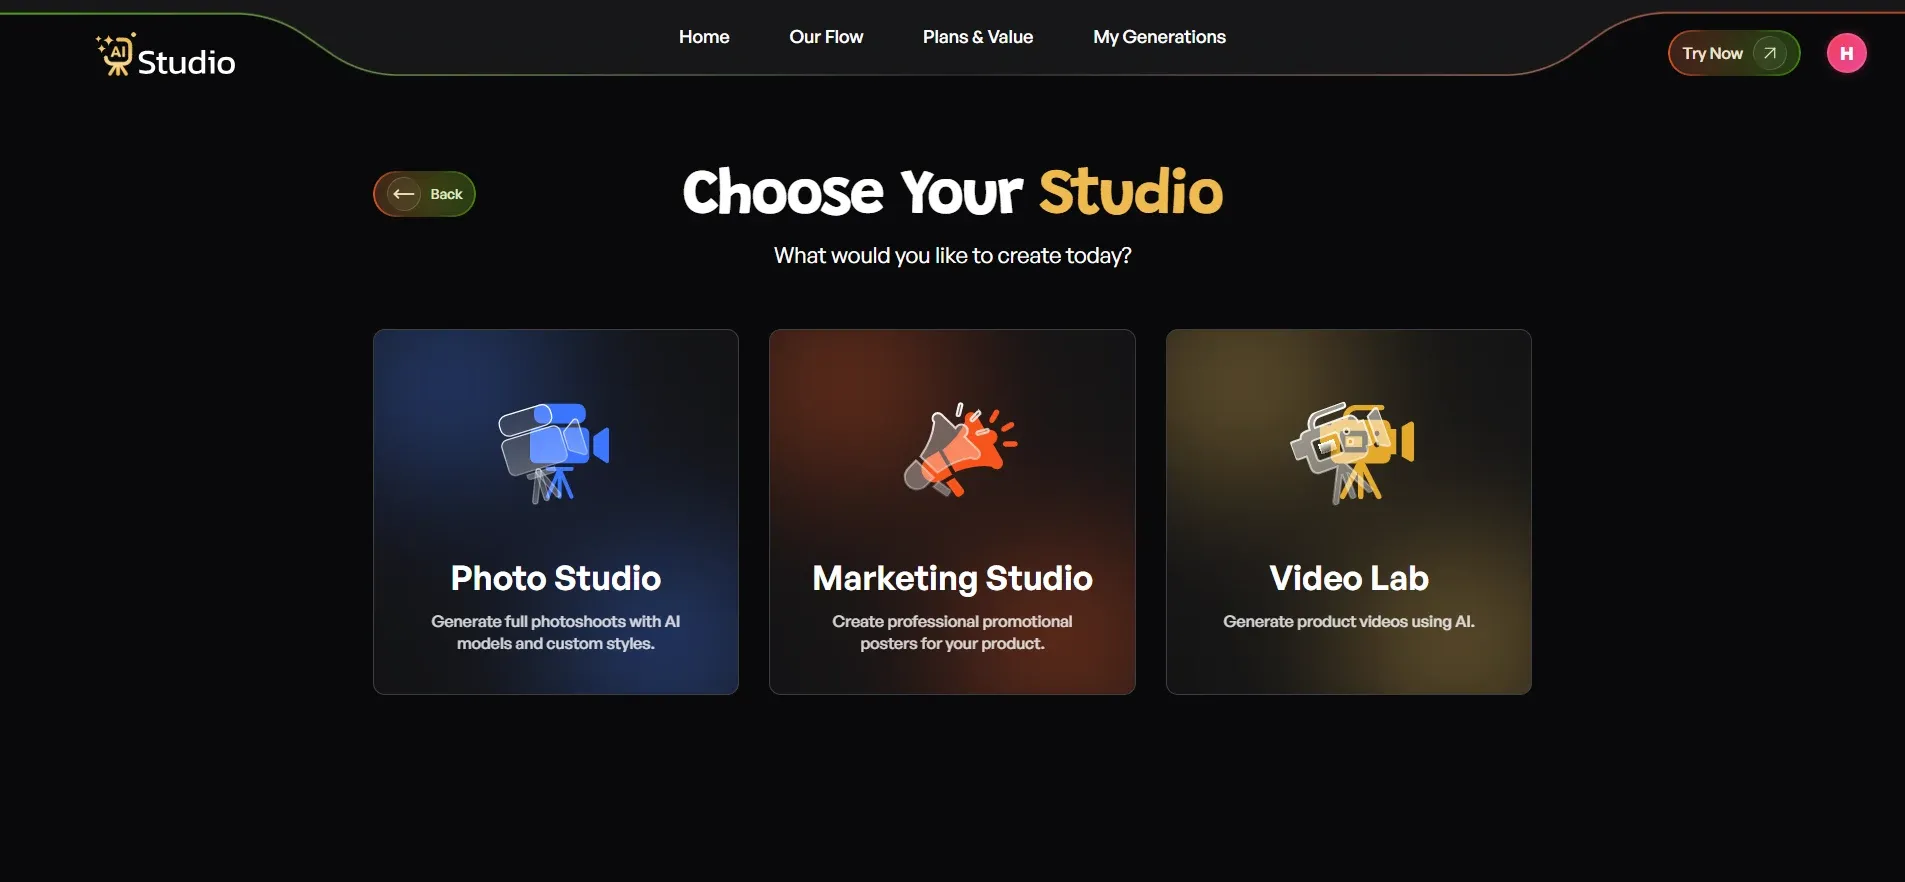
- Open Choose Your Studio.
- Select Photo Studio to start creating your product images.
3. Select a Category
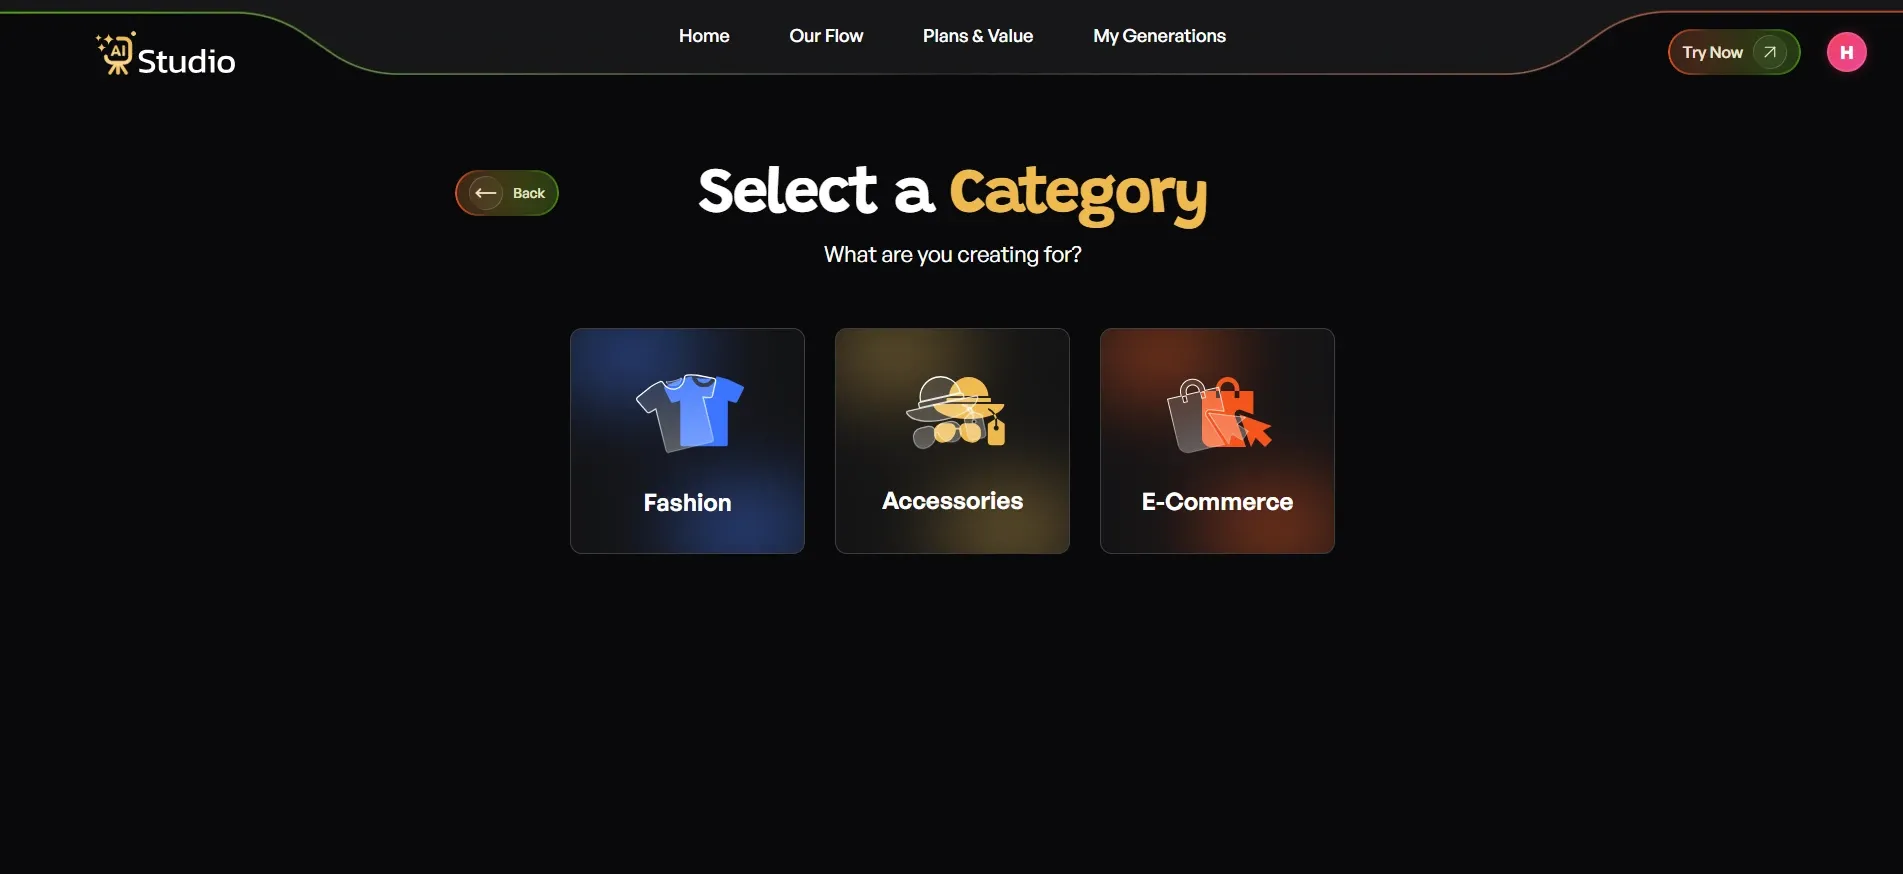 Choose the category that best matches your product:
4. Choose a Sub-Category
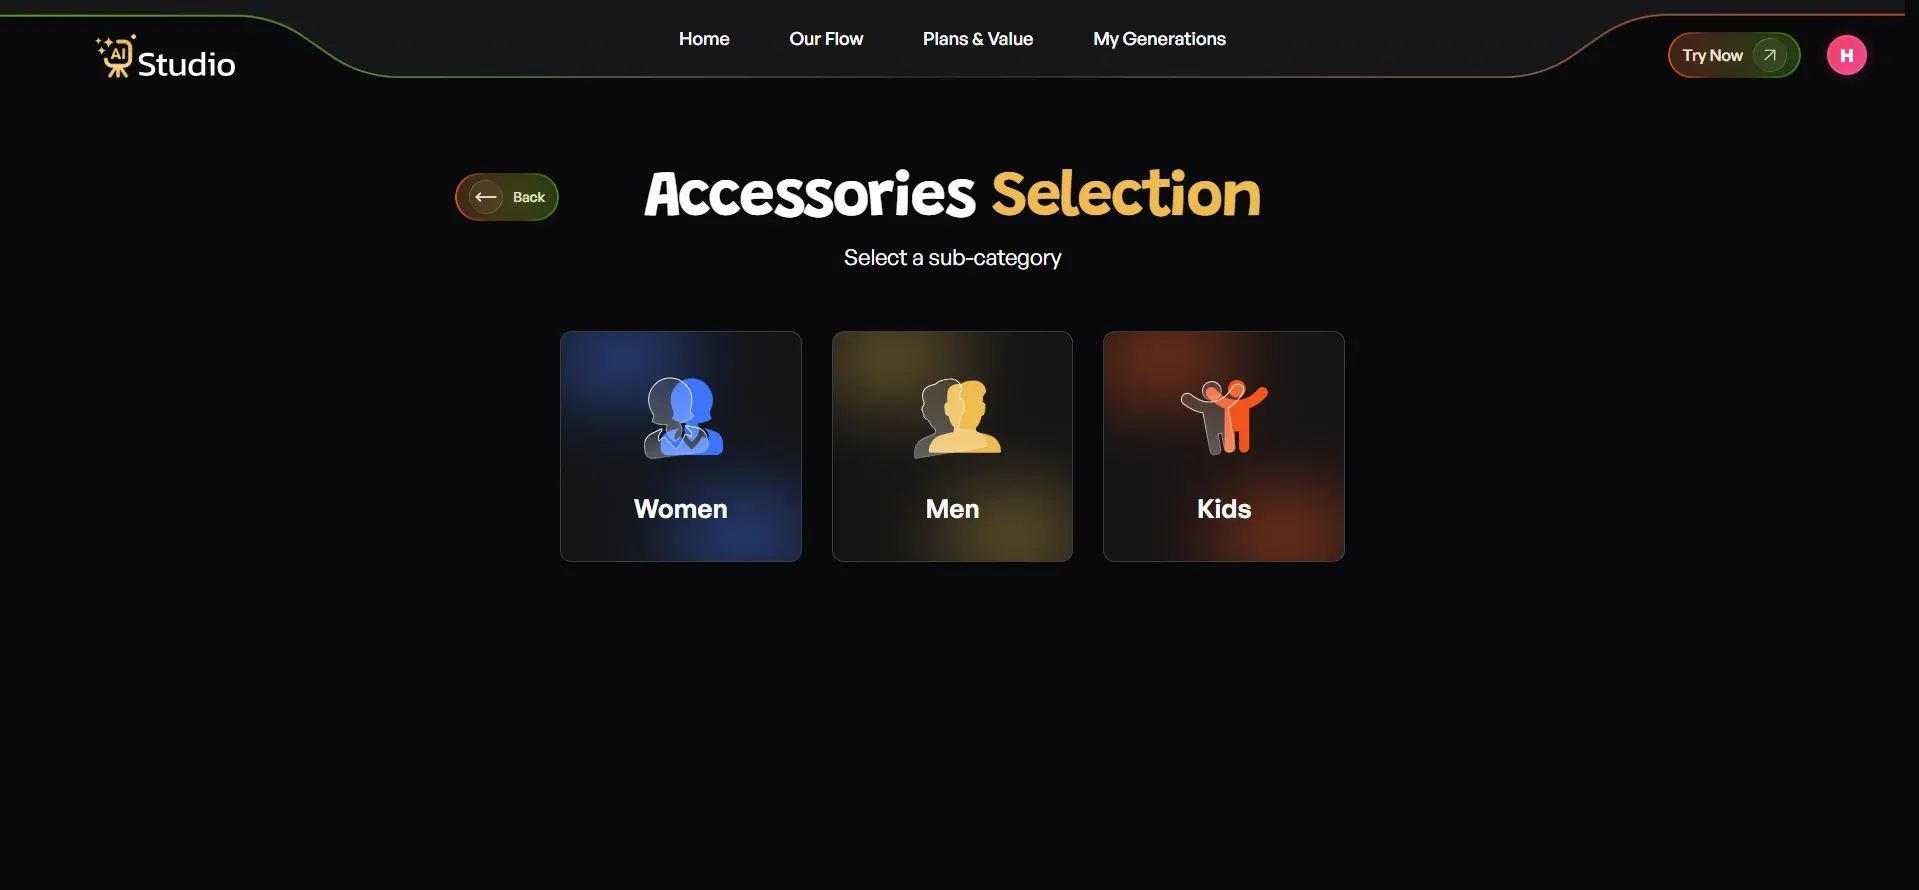
- Select a relevant sub-category if available.
- Options may include Women, Men, or Kids.
5. Select the Product Type and Upload Your Image
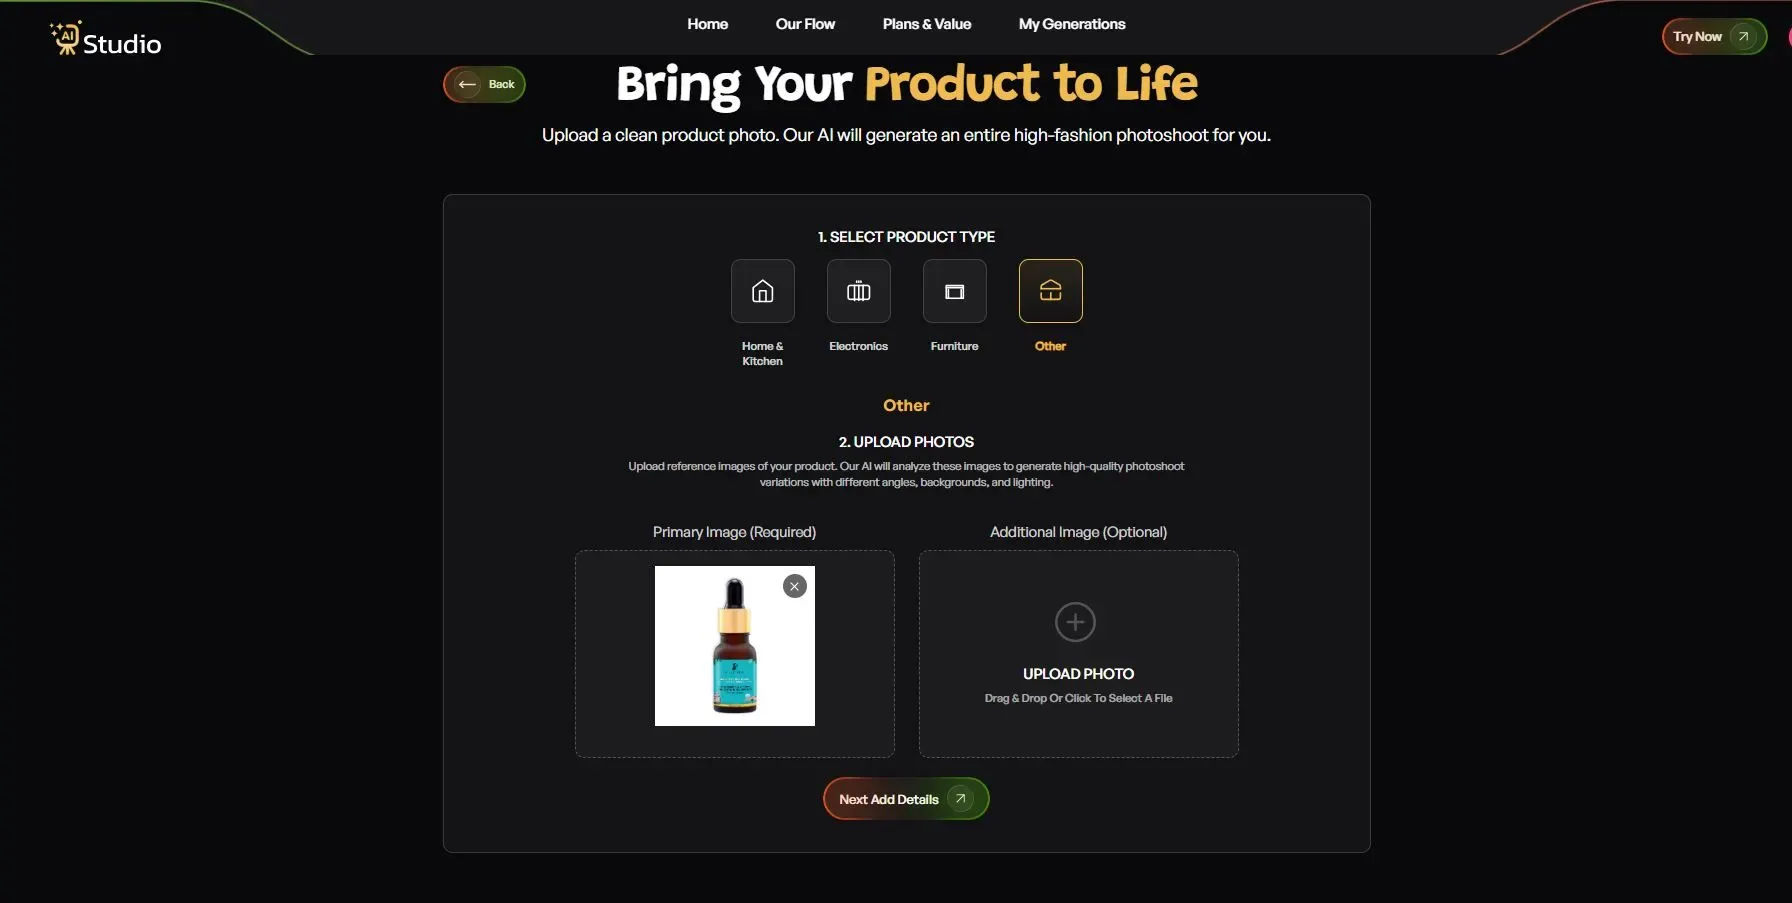
- Choose the correct product type.
- Upload a clear, well-lit product photo.
- A good phone photo taken using the steps above can work well.
6. Configure the Image Settings
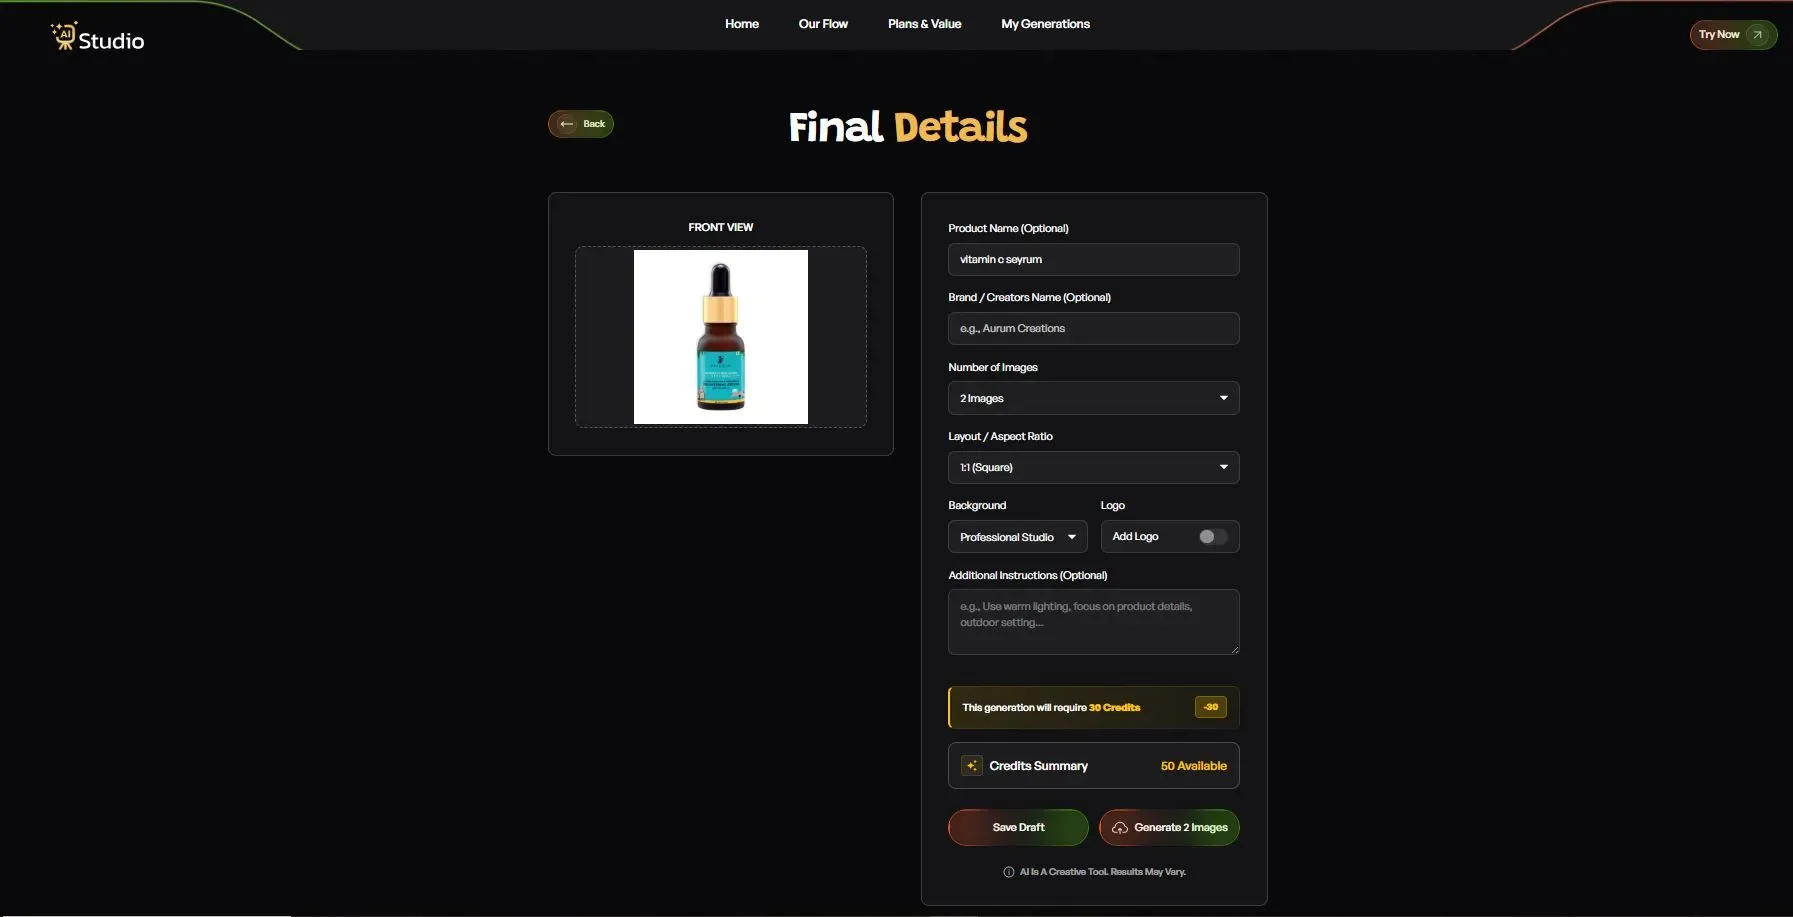
- Add clear product details.
- Choose the number of images you want to generate.
- Select the aspect ratio based on where you plan to use the images.
- Adjust model consistency, background, style, and logo settings.
- Add any additional instructions needed for the final result.
7. Generate and Review the Images
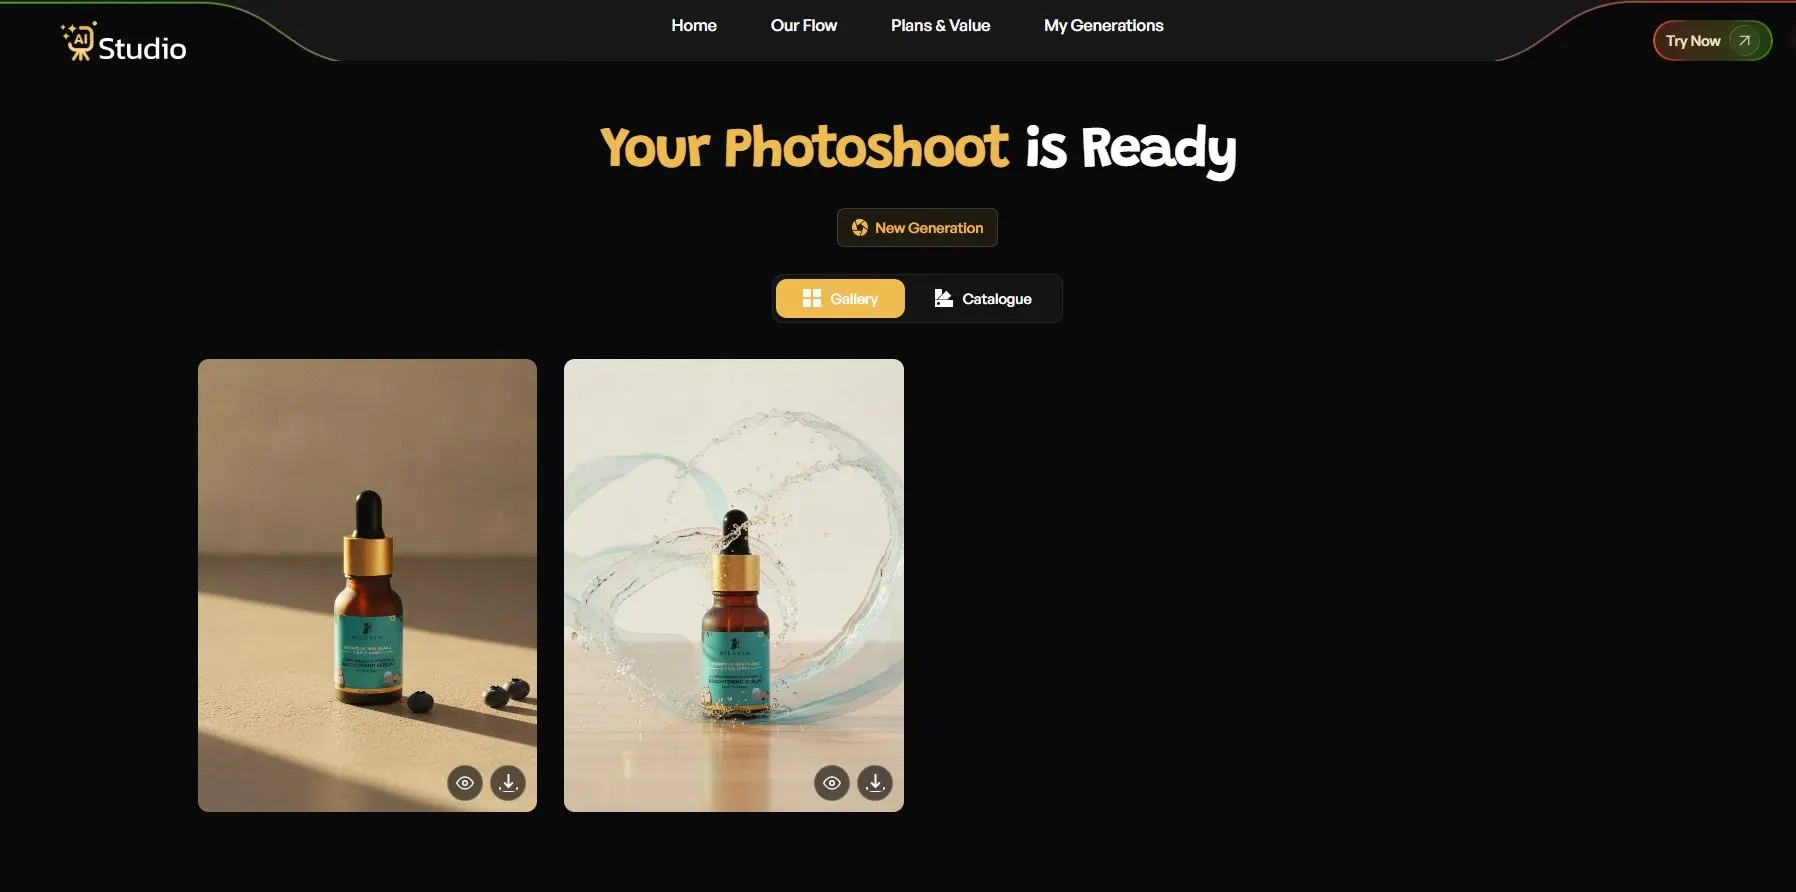
- Generate the product images.
- Review each result carefully.
- Compare the images with your real product to check important details.
- Download your preferred high-resolution image.
Best use cases and honest limits
Here is where I have seen this work best:
- Fashion brands that need on-model photos without hiring models or booking a studio
- Jewelry and accessories sellers who want clean, consistent images
- Sellers who need ecommerce product photography for Amazon, Flipkart and Shopify listings
- Ads and social media posts, where you need many fresh images quickly
Now the money side. A traditional photoshoot can cost ₹10,000 to ₹50,000 per session, and AI Studio plans start at ₹600 per month. AI Studio also says images are ready in around 10 seconds. Instead of spending ₹20,000 on a shoot, many sellers now use AI tools like AI Studio, and I have seen brands use it to keep their product images consistent without hiring models.
I will be straight with you: AI is not magic. Always compare the result with your real product. Check colors, prints, text on labels and small details. If something looks off, change the settings or upload a clearer photo. Also read the image rules of each marketplace, since Amazon, Flipkart and others can update their guidelines.
DIY vs AI vs Hybrid: Which Should You Choose?
So which route should you choose? It depends on how many products you sell, the time you can spend and your budget. Let's have a brief comparison.
| Factor | DIY with phone | AI tool | Hybrid |
|---|---|---|---|
| Cost | One-time setup of about ₹450 to ₹1,550 | Plans from ₹600 per month on AI Studio | Small setup cost plus a plan |
| Time | Slow, setup and editing for each product | Fast, often seconds per image | Medium |
| Skill needed | Basic photo and editing skills | Almost none | Basic |
| Consistency | Changes with daylight | High | Good |
| Best for | A few products | Many products, fashion, ads | Real look plus variety |
My favorite is the hybrid technique. It requires you to shoot a nice picture of the product with your phone and use the steps mentioned above to edit the image in AI Studio and experiment with various background and style options. This way, you will retain the authentic feel of the shot while also being able to achieve a diverse range of variations.
If you have a small catalog and enjoy experimenting with products and shooting them, you should choose the DIY method. If you have a vast catalog, need shots of the model wearing the clothes, or have to do ads frequently, you should consider the AI option. If you want to shoot real products with some variation, you can choose the hybrid method. Any way you choose, you will be able to do product photography without a studio and have diverse shots for your catalog.
Conclusion
Let's sum up. To set up a clean product photo, you don't need a large budget and a rented studio. With some soft light, a background, and a stable phone, you are ready to start shooting amazing photos of your goods without a studio.
To photograph multiple products and want to try your hand at on-model photoshoots, then you should definitely try this AI tool. You can start now and try both ways: first, photograph one product, then experiment. To begin, you can go to tryaistudio.app and start.