


How to Create Lifestyle Product Photos With AI (No Photoshoot Needed)
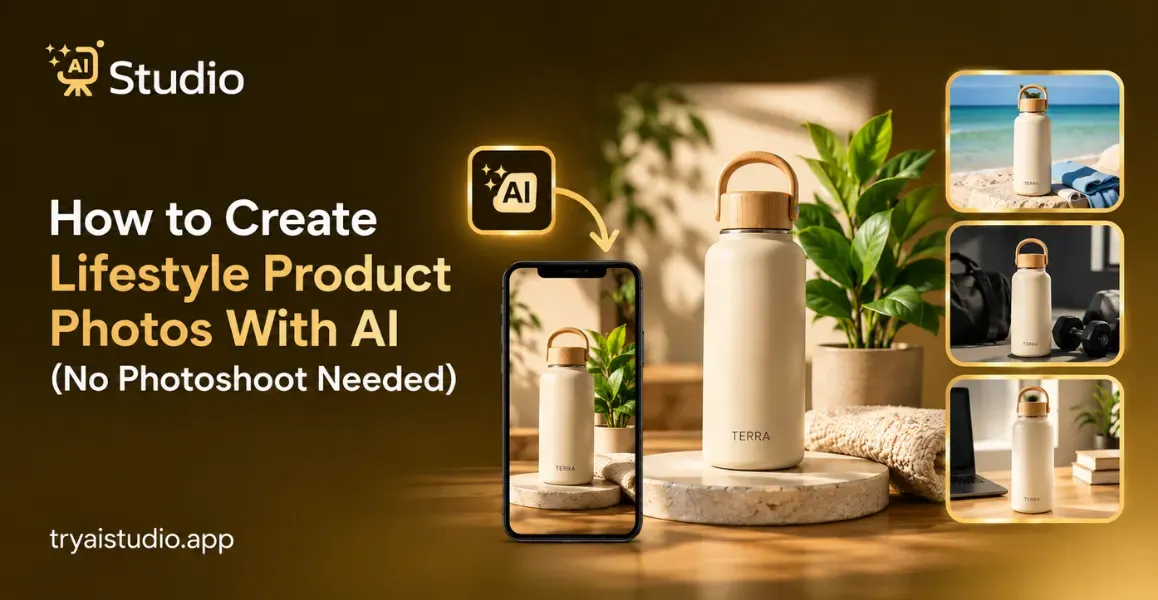
Traditional product photography can be expensive and time-consuming for small ecommerce brands. Studio, photographer, model, styling, and editing, all these elements add to the cost and difficulty, and new collections need new photos.
With AI product photography, you can create different images: upload a product photo and let the AI tool style a scene around it.
In this article, I'll show how to create lifestyle product photos with AI. We'll be using AI Studio (tryaistudio.app) as an example. Also check out the list of scene ideas, marketplace image requirements, how to verify the accuracy of AI-generated images, and when to choose a photoshoot over AI photography.
Why Lifestyle Photos Matter (and Why Traditional Shoots Can Hurt Small Sellers)
A plain product photo shows what an item looks like. A lifestyle photo shows how it fits into a buyer's life. That is why many sellers want both, and why the cost of getting them matters.
What Are Lifestyle Product Photos?
Lifestyle product pictures display products in context or use as opposed to an isolated setting on a blank background. A jhumka adorning a wooden dresser, a kurta styled in a vibrant living room, or a tote bag lying on a café table are some examples. These product photos help the buyer imagine the size and the context of use.
The Real Cost of a Photoshoot in India
Photoshoot costs vary a lot. The main factors are:
- Number of products
- Studio and location
- Photographer
- Models
- Styling and props
- Editing
- Number of final images
Traditional photoshoot costs vary widely. As one reference point, AI Studio currently compares traditional shoots at roughly ₹10,000 to ₹50,000 per session, depending on the setup.
Although a single shoot can include numerous products, an increased number of products does not necessarily mean more shoots.
More products usually require additional styling and setup, extra time for photoshoots and editing, more effort for arranging and planning, and sometimes several shoots. New launches and seasonal shoots have a similar pattern.
Small companies face the same product collection issues: irregular visuals, slow content generation, and a limited budget. Thus, an AI product photo shoot solution can be a great help in such cases.
Traditional Photoshoot vs AI: A Quick Comparison
Neither method is better in every case. The right choice depends on the product, the budget and where the image will be used.
| Factor | Traditional photoshoot | AI product photography |
|---|---|---|
| Cost structure | Charged per shoot or per day. Varies with studio, team, models, and image count. | Usually subscription- or credit-based. AI Studio lists plans from about ₹600 a month. |
| Turnaround time | Depends on booking, shoot day, and editing. | Generation is quick. AI Studio describes it as around 10 seconds, though timing can vary. |
| Models | Needed only for on-model shoots. | Some tools offer virtual model options, including AI Studio's Fashion and Accessories workflows. |
| New scenes | A new look often means a new setup or reshoot. | A new scene means changing the background, style or instructions. |
| Catalog consistency | Strong within one session. Can drift between sessions. | Consistent if you reuse similar settings. Needs review each time. |
| Editing and setup | Lighting, props, retouching. | Source photo preparation and checking the output. |
| Best use case | Hero campaigns, complex products, original photography requirements. | Listings, secondary images, ads, social posts and frequent catalog updates. |
Rather than shooting a full new shoot for each new design, many small sellers have started using AI tools such as AI Studio for day-to-day lifestyle needs, while saving their traditional photography for the shots that matter.
How to Create Lifestyle Product Photos With AI, Step by Step
In AI Studio, the user needs to create an account, open the Photo Studio, select the product category and sub-category, add a product image, edit the background, style, and other settings, generate, examine, and download the result.
Here is the full process:
Step 1: Create an Account and Log In
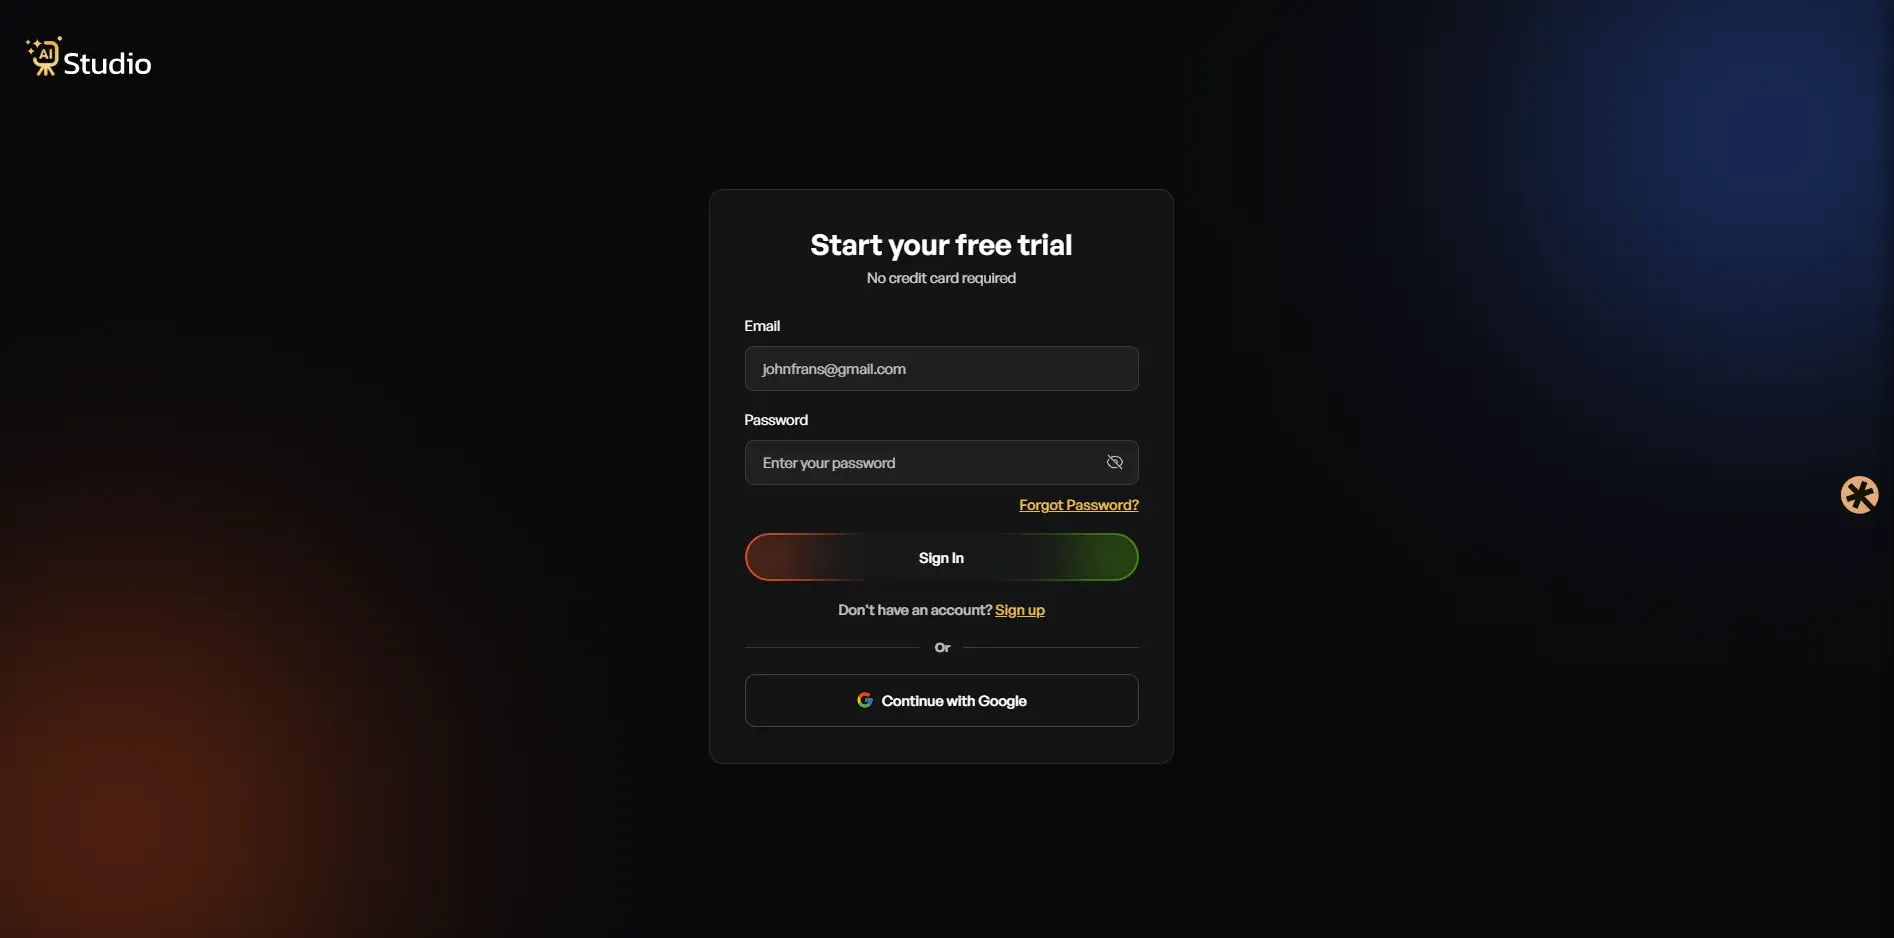
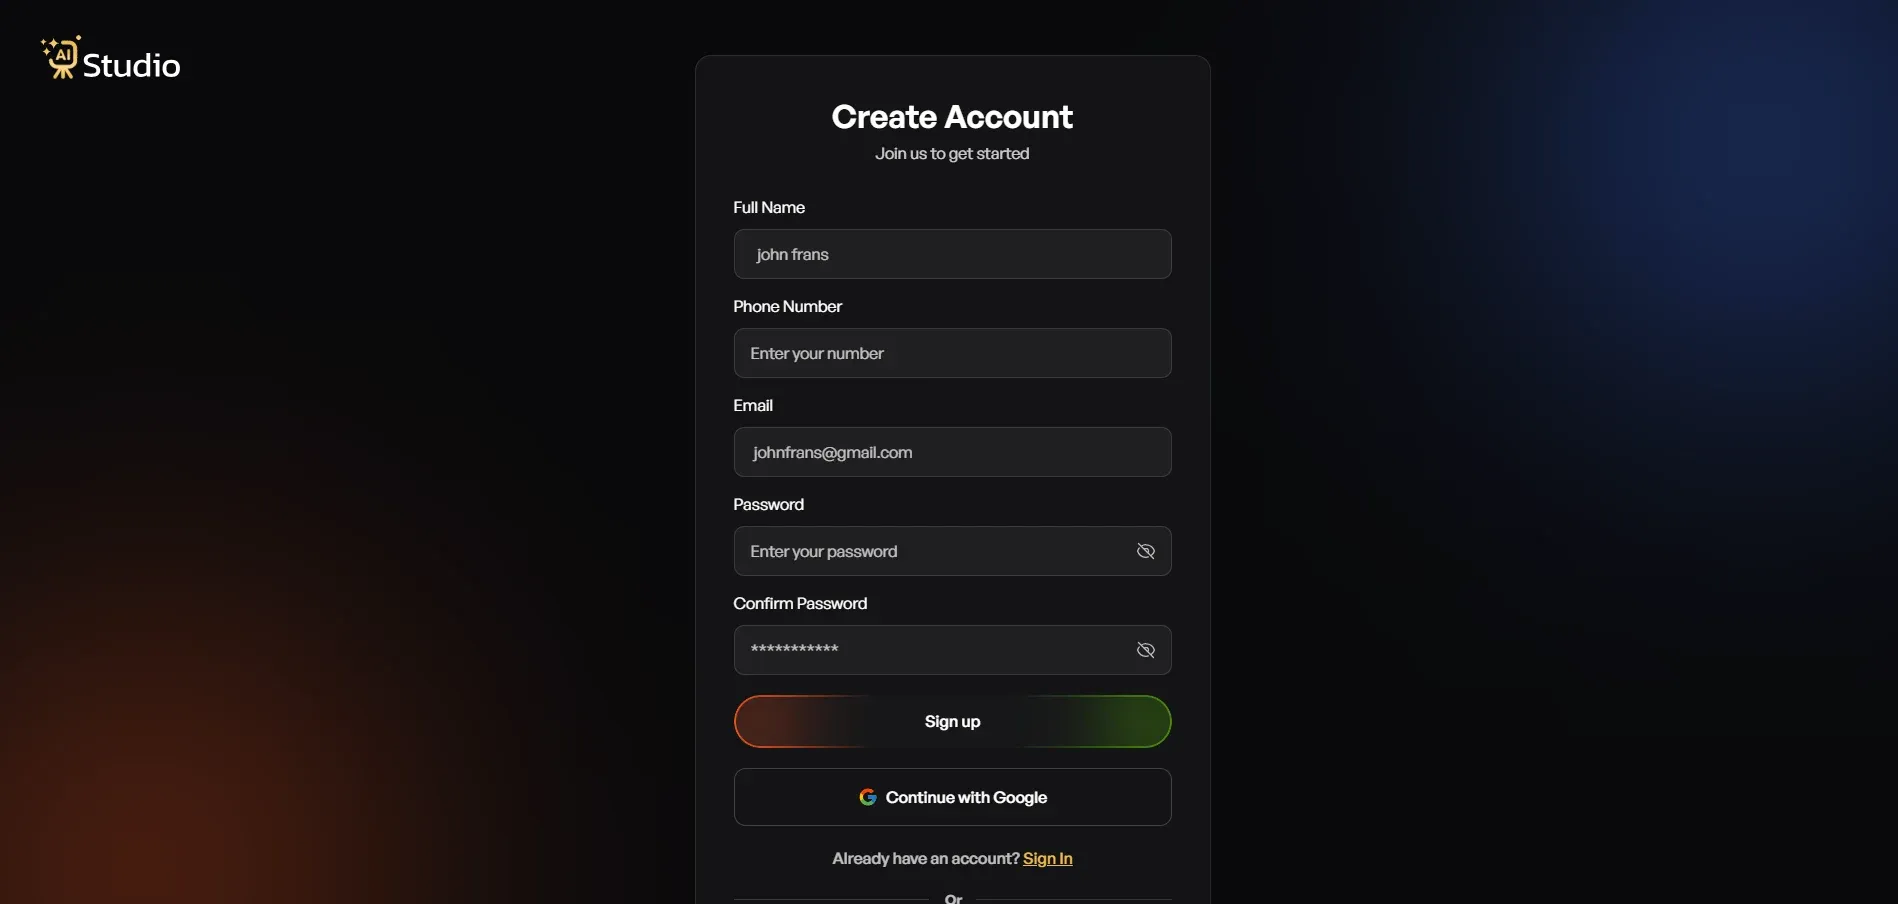
Visit tryaistudio.app and sign up with your email address. AI Studio states that no credit card is needed to start. After you register and log in, you land on your dashboard.
Step 2: Choose Photo Studio
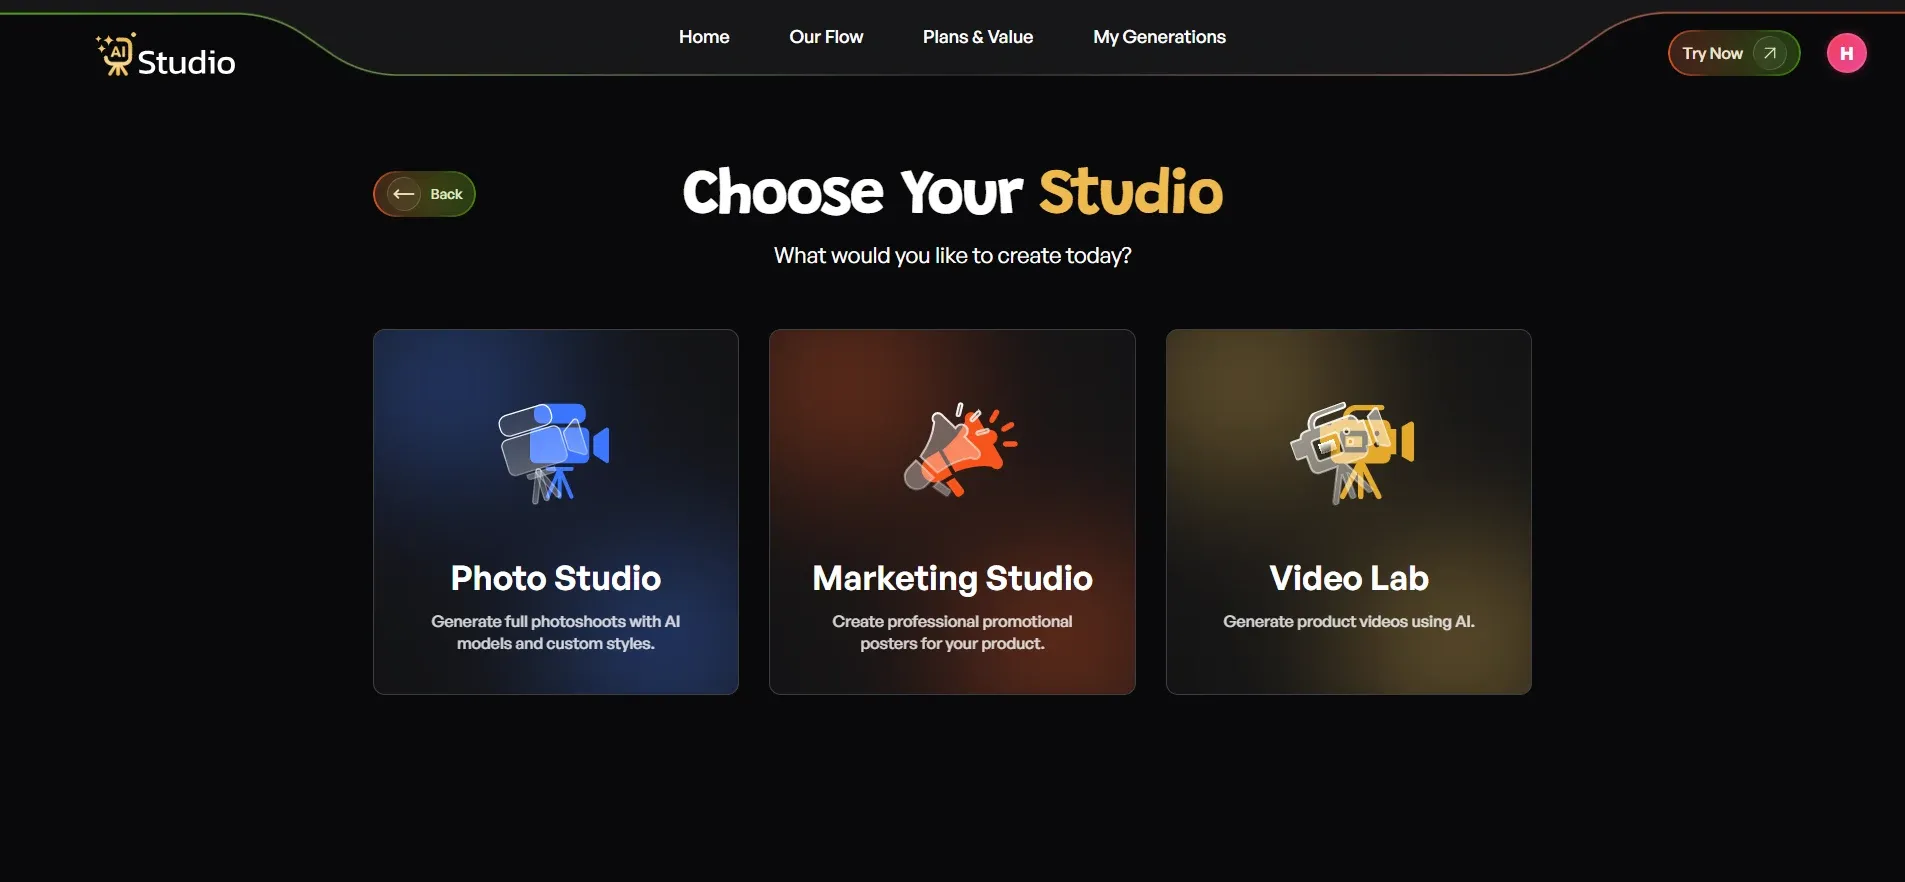
The dashboard shows three studio options: Photo Studio, Marketing Studio and Video Lab. Photo Studio is the one used for AI product photography, so select it. You can review all available options on the choose your studio page.
Step 3: Select Your Product Category
Next, choose the category that best matches your product. This helps the tool understand what you are uploading. The available categories are:
- Fashion: kurtas, sarees, dresses, shirts, t-shirts, jackets and other clothing
- Accessories: jewellery, watches, bags, belts, sunglasses and similar items
- E-Commerce: general products such as beauty items, home products and electronics
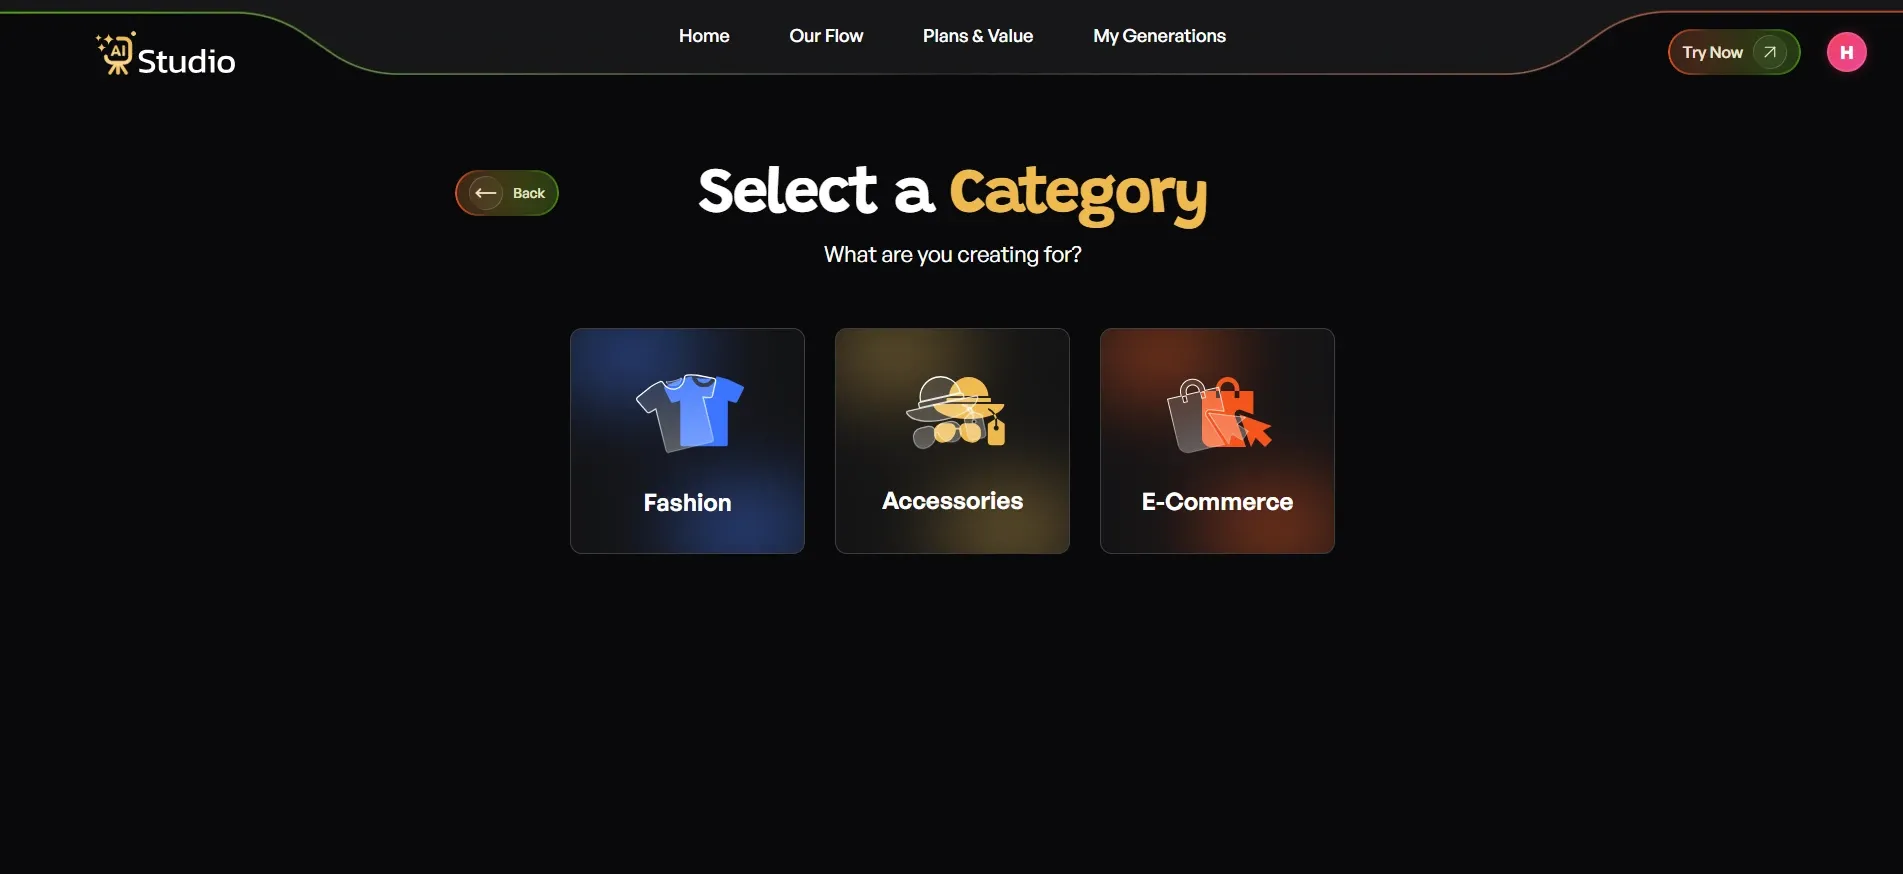
Picking the right category matters. A garment placed in the general E-Commerce category may not give the on-model result that the Fashion category is designed for.
Step 4: Select the Sub-Category or Product Type
For Fashion and Accessories, you choose Women, Men or Kids, and then the relevant product type, such as a watch or a belt. This choice helps the tool pick a suitable virtual model and fit the product naturally into the image. Choose only from the options AI Studio shows for your category.
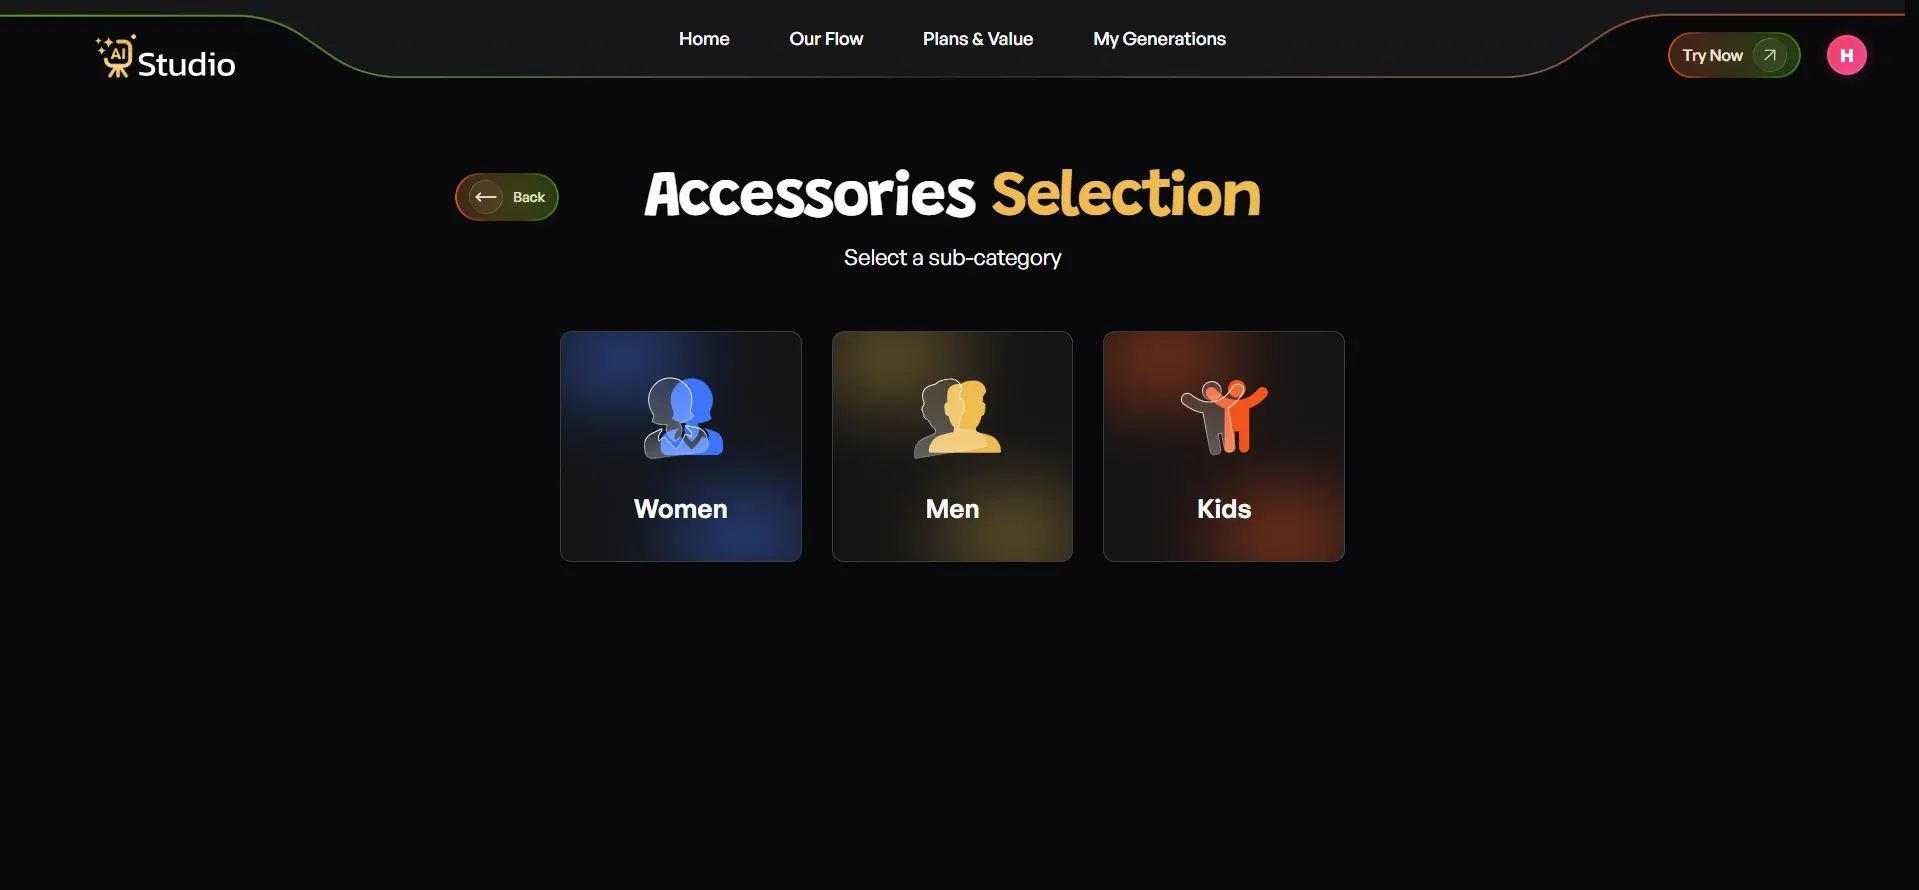
Step 5: Upload Your Product Photo
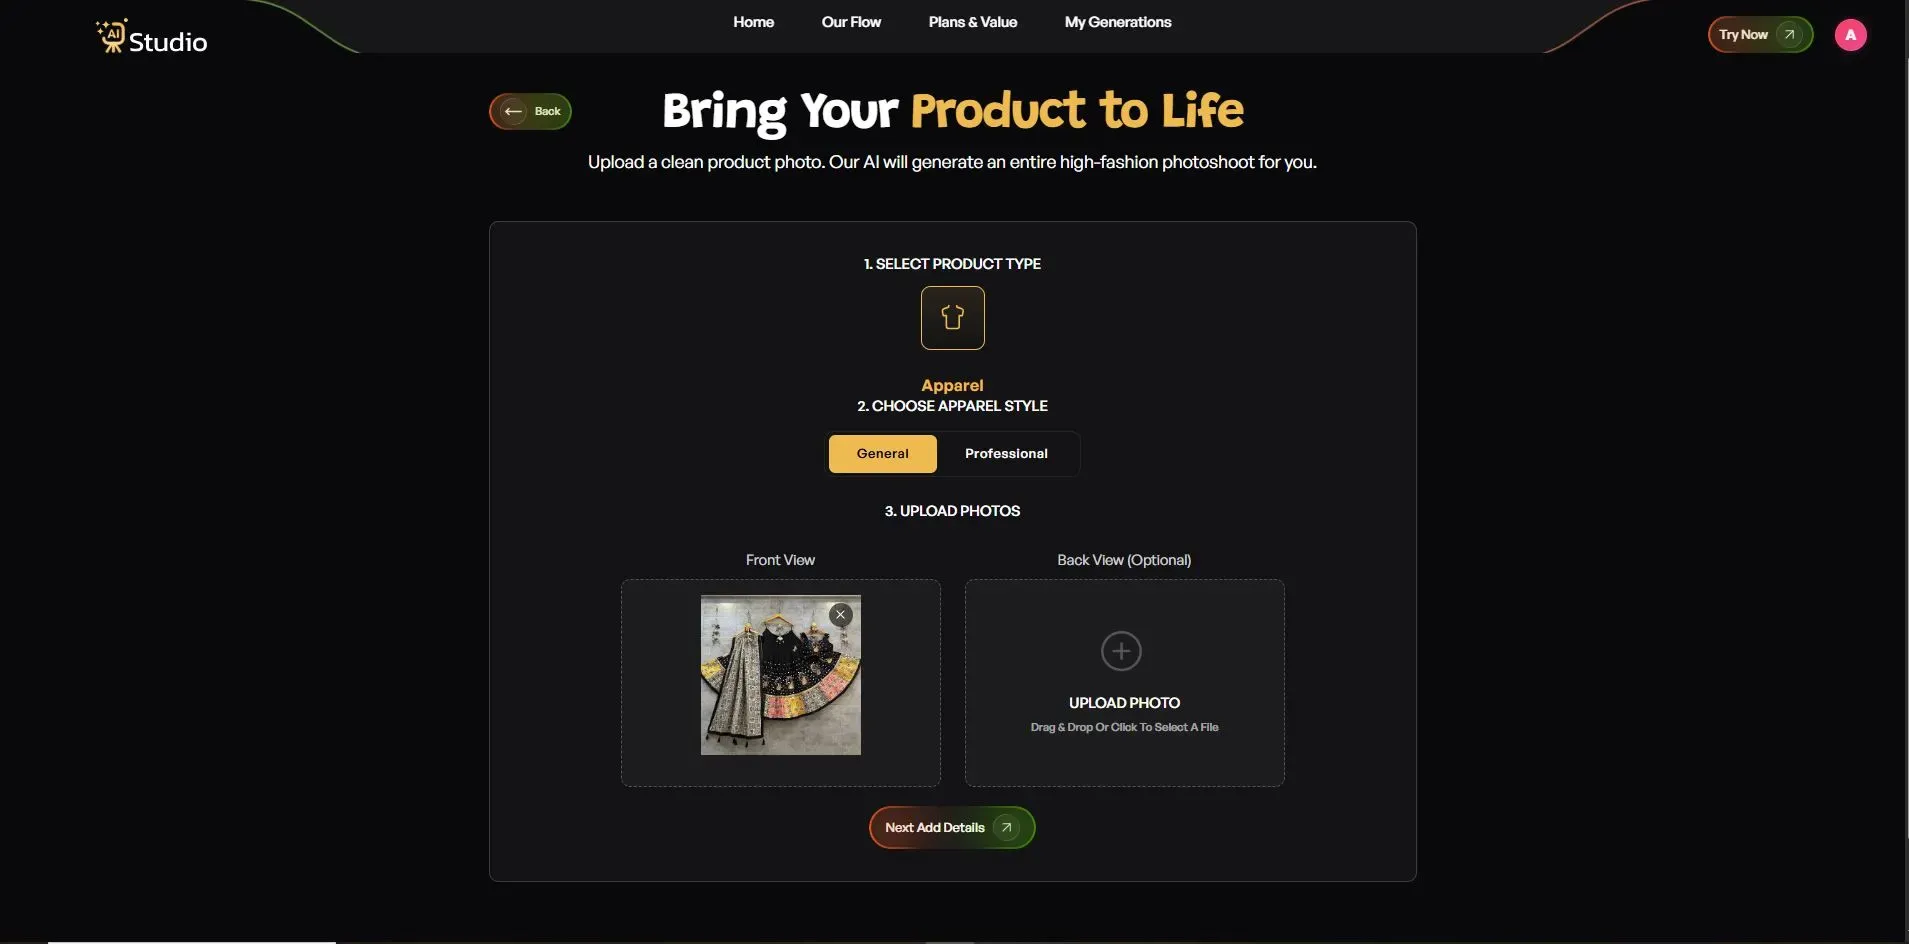 The Main Product Image is required. Upload one clear, camera-facing photo of the product. Where the option is available for the selected product type, you can also add a second image from another angle. This is especially useful for accessories, jewellery, handbags and products with detailed designs.
Some practical tips for a good source photo:
- Use a sharp, well-lit image, ideally in daylight near a window
- Prefer a plain or light background so the product outline is easy to read
- Show the whole product without cropped edges
- For a kurta or saree, lay it flat or hang it neatly so the pattern and drape are visible
- For jewellery, avoid glare and show the clasp, stones or design detail in the second image
- For bags, capture the front clearly and use the second image for a side or detail angle
When you are done, click Next: Add Details.
Step 6: Fill In the Final Details
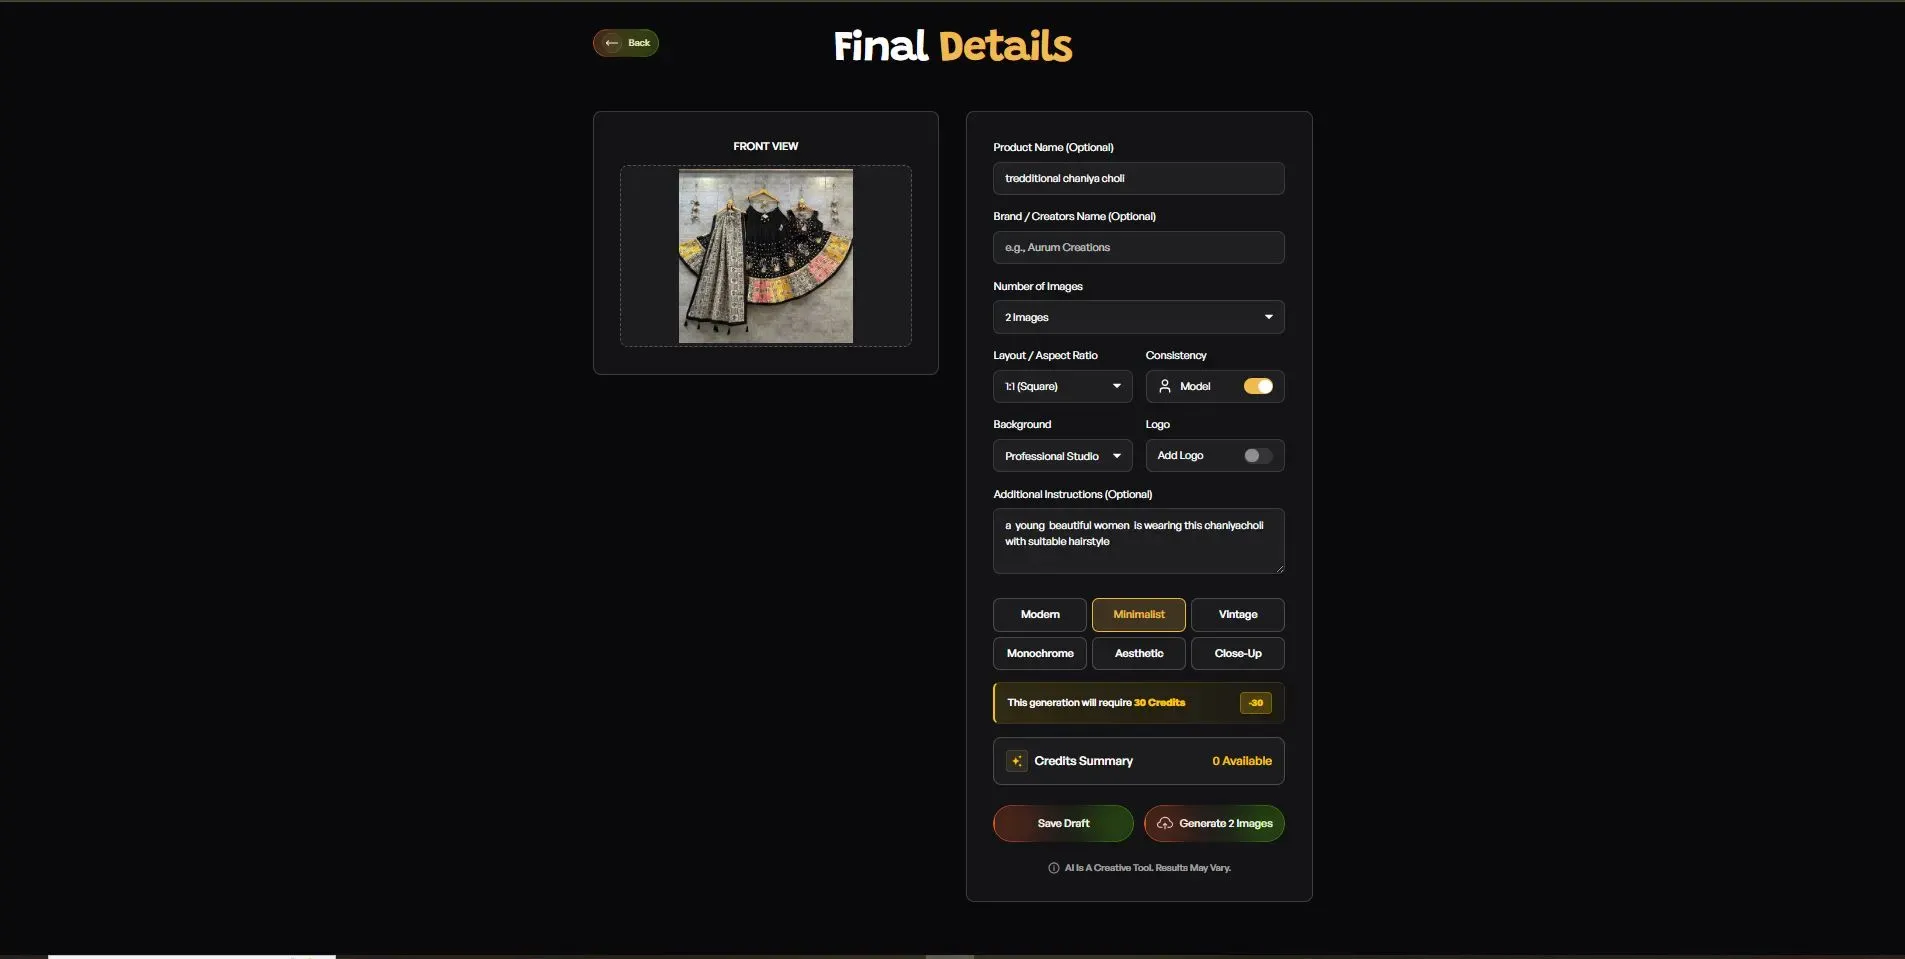
This panel is responsible for defining the look of the lifestyle. The AI Studio interface lists the options, including the Product name, Brand name, Number of images, Layout or aspect ratio, Model consistency toggle, Background, Style, Logo, and Additional instructions.
The availability of these options may vary depending on the category and workflow selected. Therefore, not all of them are available for all products.
Here is how each one helps you build a lifestyle image:
- Product Name and Brand Name: basic details that help the tool understand what it is generating. Brand Name is optional.
- Number of Images: generate a few versions and compare them instead of settling for the first one.
- Layout or Aspect Ratio: choose a format that suits where the image will be used. AI Studio's guide mentions options like 1:1 for square listings and Instagram, 4:5 for Instagram feeds, and 16:9 for banners.
- Model Consistency: where available, keeping it on helps the same model appear across a set of images, which suits a fashion catalog.
- Background: a solid white background suits plain marketplace-style shots. Choose a different background option when you want a lifestyle scene.
- Style: the guide lists looks such as Modern, Minimalist, Vintage, Monochrome, visual style, and Close-Up. Match the style to the product and to your brand.
- Logo: add it where the option is available, if you want your branding on the image.
- Additional Instructions: describe the setting, lighting or focus in plain words. For example, "warm indoor lighting, festive setting, focus on the embroidery."
Step 7: Generate, Review and Download
Click Generate and wait for the images. AI Studio describes generation as taking around 10 seconds, but exact timing can vary.
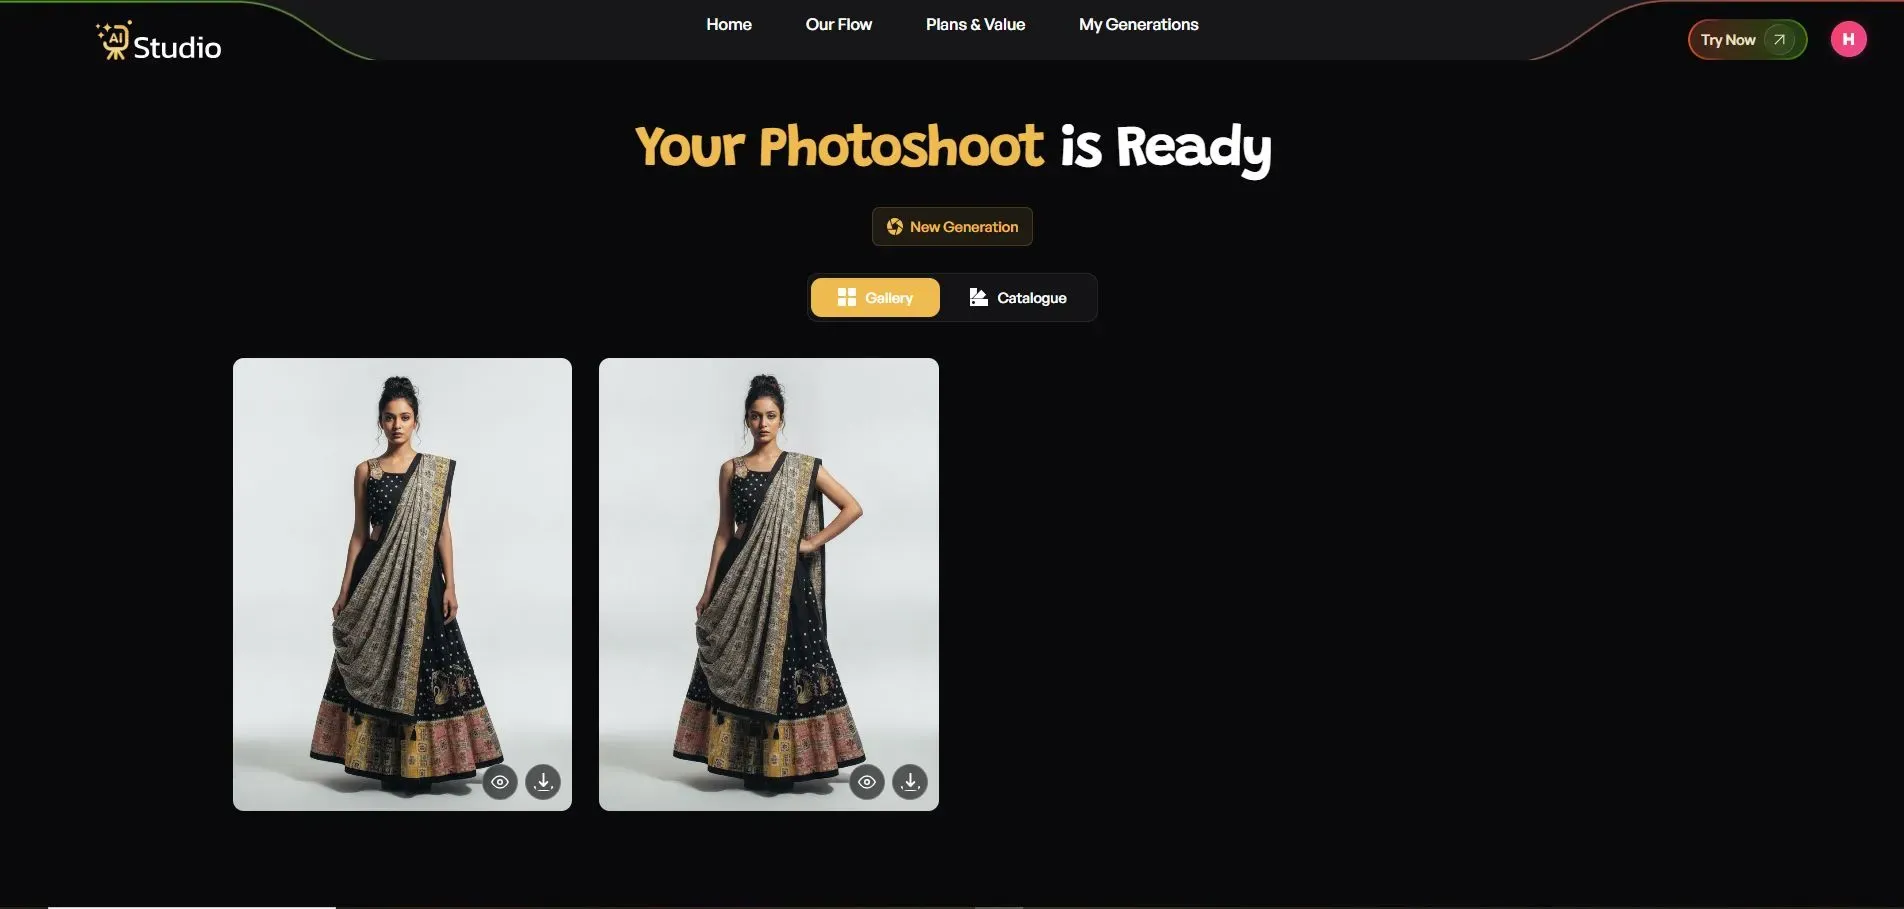
Do not publish straight away. Check each image against your real product:
- Product shape and proportions
- Colour
- Fabric pattern or print
- Jewellery stones and metal finish
- Logos and labels
- Hands and body interaction, where a model is shown
- Any extra or missing product details
If something looks off, adjust the instructions and generate again. Download and publish only after the image accurately represents what the buyer will receive.
Lifestyle Scene Ideas for Fashion, Jewellery and Accessories
The scene should appeal to both the product and the buyer. Bridal necklace and gym bag require different moods in the background. However, all visual elements should remain the same: the colors, patterns, shapes, and product details should be up to standard.
Fashion
- Festive indoor setting: warm light and a home or celebration feel for kurtas, sarees, and ethnic wear
- Minimal studio: a clean, neutral look for everyday tops and dresses
- Casual outdoor setting: natural daylight for street style and casual wear
- Premium ethnic look: rich, elegant surroundings for occasion wear
Jewellery
- Dressing table: a familiar setting for daily-wear earrings and necklaces
- Bridal environment: a wedding-style setup for bridal sets
- Premium close-up: focus on texture and craftsmanship
- Soft luxury background: gentle tones that keep attention on the piece
Sellers working with fine pieces can explore more ideas in this guide on high-quality AI product photos for jewelry.
Accessories
- Café table: a relaxed scene for sling bags and wallets
- Office or work desk: a natural fit for watches and laptop bags
- Travel setting: suits backpacks, passport holders and belts
- Clean premium studio: a simple, polished look for sunglasses and watches
Pick one or two styles and keep them consistent across your catalog. A repeated look makes the store feel like one brand. This kind of AI lifestyle product photography is easiest to manage when you reuse similar settings each time.
Where to Use AI Lifestyle Photos on Amazon, Flipkart and Shopify
Creating AI-generated ecommerce product images is only half the job. Each image also needs to go in the right place. Marketplace rules differ by platform and category and change over time, so always check the latest requirements before you publish.
Match Image Type to Slot
- Marketplace main image: usually needs a clear, accurate view of the product on a plain background, as per the platform's current rules
- Secondary images: a good place for lifestyle scenes that show use, scale and context
- Brand content and A+ content: suits styled visuals that match your brand
- Shopify product galleries: flexible, so lifestyle images can sit alongside plain product shots
- Ads and social media: lifestyle scenes in square or portrait formats are common choices for Instagram and Meta ads
Sellers looking for a Shopify product photo generator or an Amazon product image tool should check that the tool can produce both plain, compliant images and lifestyle scenes.
Amazon and AI-Generated Images
Amazon's MAIN image must meet Amazon's current product-image requirements, including accurately representing the actual product and using a pure white background where required. If AI is used to create or edit an image, verify that the final image still meets Amazon's current main-image and category-specific rules.
There is also a newer disclosure rule. In July 2026, Amazon announced a disclosure requirement for new listings and A+ media containing photorealistic AI-generated people to carry specific metadata before they are added to listings and A+ content. Sellers add a specific keyword to the image file's metadata using an IPTC-compatible editor, and images with no people are not covered. This matters most when you use virtual models. Rules can change, so check Amazon Seller Central for the latest details before you upload. For a deeper look at workflows built around this, see AI product photography for Amazon and Shopify.
Flipkart
Flipkart has their own image guidelines, which vary for different categories; use a compliant main image, add lifestyle scenes where the slot allows, and always check a category's image guidelines before publishing.
Common Mistakes to Avoid
- Using a heavily styled lifestyle image as a marketplace main image
- Letting the scene hide or change product details
- Mixing very different styles across one catalog
- Publishing without comparing the image to the real product
- Skipping the platform's latest image rules
Where AI Still Struggles
AI-generated images are not automatically accurate or ready to list. Watch closely for issues with:
- Small text and logos
- Labels and packaging text
- Reflective jewellery and metal finishes
- Gemstones
- Transparent products such as glass
- Intricate fabric patterns
- Product proportions
- Hands and body interaction with the product
- Exact colour reproduction
Inspect every generated image by zooming in and comparing it with your original photo or the physical product. If details are wrong, adjust the settings, regenerate, or use a real photo for that image. This checklist pairs well with these AI product photography tips for ecommerce sellers.
When You Should Still Use a Real Photoshoot
AI is useful for many listing and ad images, but traditional photography is still the better option in several cases:
- Hero campaign images: flagship visuals for launches and brand campaigns
- Macro jewellery photography: extreme close-ups where fine detail is everything
- Highly reflective products: polished metal or mirror finishes
- Transparent products: glass, clear plastic and similar items
- Packaging with important small text: where every word must be readable and correct
- Colour-critical products: where exact shade matters to the buyer
- High-budget brand campaigns: where creative direction and original art matter
- Requirements for original photography: when a marketplace or client asks for it
A practical approach for many sellers is to combine both. Use real photography where accuracy or brand impact matters most, and AI for everyday lifestyle images and frequent catalog updates, an approach covered in more detail in AI product photography versus traditional photography.
Conclusion
You can create lifestyle product photos with AI, without the need for a photoshoot. You can prepare a product photo, pick the category in AI Studio, set a background and style, and review each result before publishing.
Make sure your marketplace has compliant main images, use lifestyle scenes in the appropriate slots, and stay up to date with Amazon and Flipkart guidelines. For high-end visuals, a photoshoot still makes sense. Test the product and see how it compares to your current listing photo before doing a full shoot.
You can test the workflow by using your own product at AI Studio and seeing how the result compares to your existing product photos.