


Product Photoshoot with Model Without Hiring a Photographer
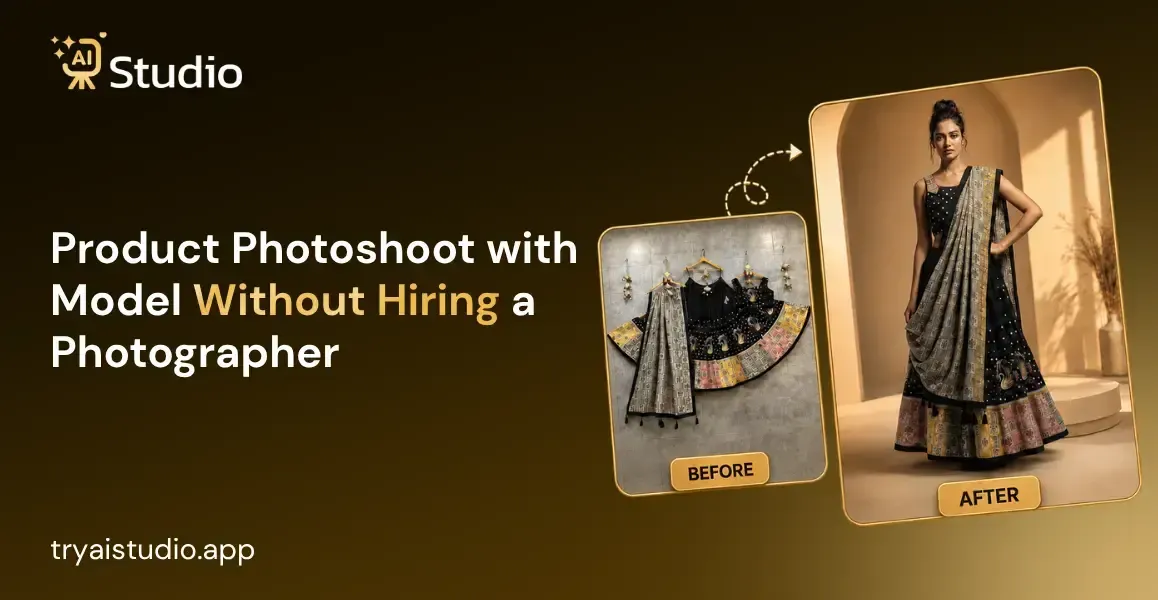
I've noticed a bunch of sellers hit a wall with product photos, and honestly, it's one of the biggest headaches in the whole business. You have a solid product, your pricing is fine, but the pictures just don't really do it justice.
And when you actually look up what a proper product photoshoot with a model costs in India, the number itself can be a real mood killer. Like anywhere around ₹10,000 to ₹50,000 for a single shoot day, and then of course the whole back and forth of tracking down a model, booking a studio, and waiting on the final edited files.
Here's the reality though. Most small sellers and D2C brands simply can't keep doing that every time they launch a new product. And that exact gap is what this article is going to cover.
I'll take you through why these traditional shoots are so painful, and also how tools like AI Studio are slowly shifting things for sellers who want decent photos, without the usual expense or hassle, using an ai product photography approach that works for most catalogs.
What Is a Product Photoshoot with a Model?
Let me simply explain this. A product photoshoot with a model is basically when your product, like a kurta, a necklace or a pair of shoes, is shown being worn or used by a person rather than just sitting there and lying flat on a table.
Shoppers trust these kinds of photos more because they can actually imagine how the item looks on a real body, not only as a random object.
Traditionally, it meant getting a photographer, booking a model, renting a studio space with proper lighting, and then waiting days for the final edited images. Now, with an ai product image generator, the same kind of result can be made digitally. You upload one clear photo of your product, and the system drops it onto a realistic model, in a selected pose and setting, without anybody needing to step into a studio.
This matters even more for Indian D2C brands, since most buyers are shopping right from their phone, scrolling fast and deciding in seconds whether to pause or keep moving. A flat product photo usually doesn't stop that motion.
A product image generator that shows the item worn, or used like it belongs to a person, gives buyers the context they actually need, how the fabric falls, how the jewelry catches the light, how the accessory looks in someone's hand. That small difference, a kind of detail, often decides if a listing gets a click or gets skipped completely.
How AI Product Photoshoot with Model Works
I know this sounds kinda technical at first, but honestly it's simpler than most people think. It's more like a quick walkthrough, not some big science thing. Let me show you how it plays out in real life using AI Studio, since it's the fastest path to see how does AI photo generator work for a product photoshoot with a model. And yeah, the whole thing takes under a few minutes, even if you've never used any AI tool before.
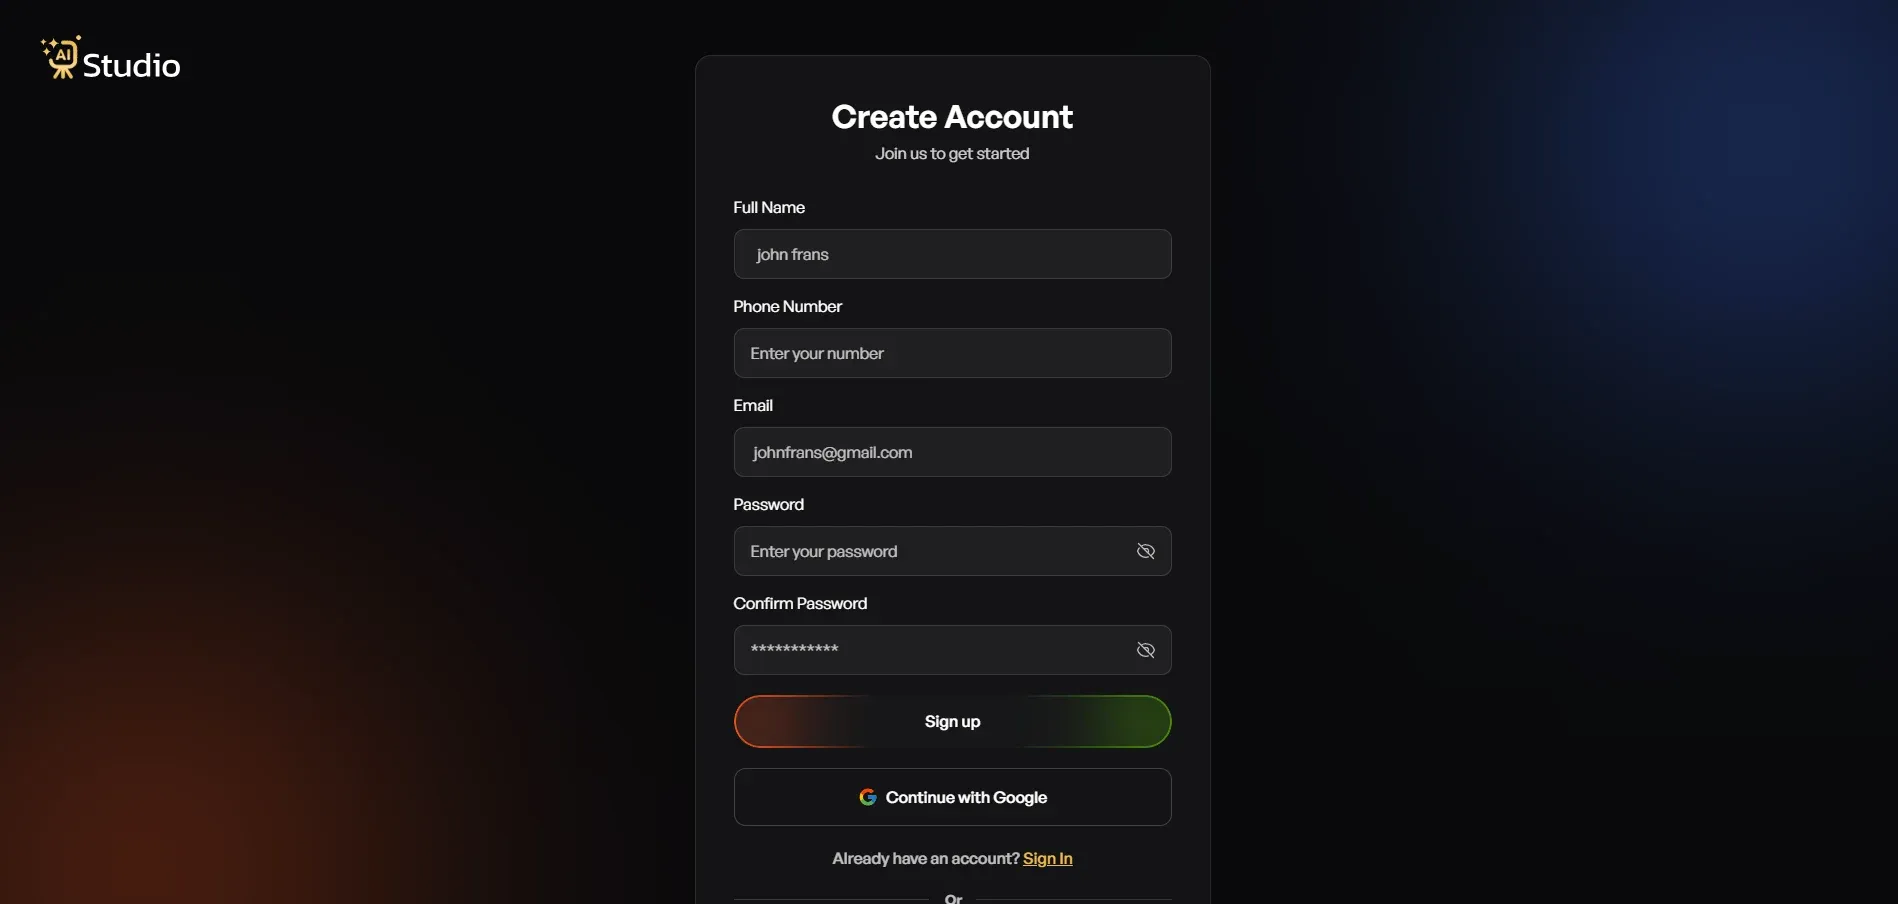
Step 1: Create a Free Account and Log In
- Go to tryaistudio.app and sign up, no credit card needed to get started.
- Once you log in, your dashboard opens up and you're ready to go.
Step 2: Choose Photo Studio
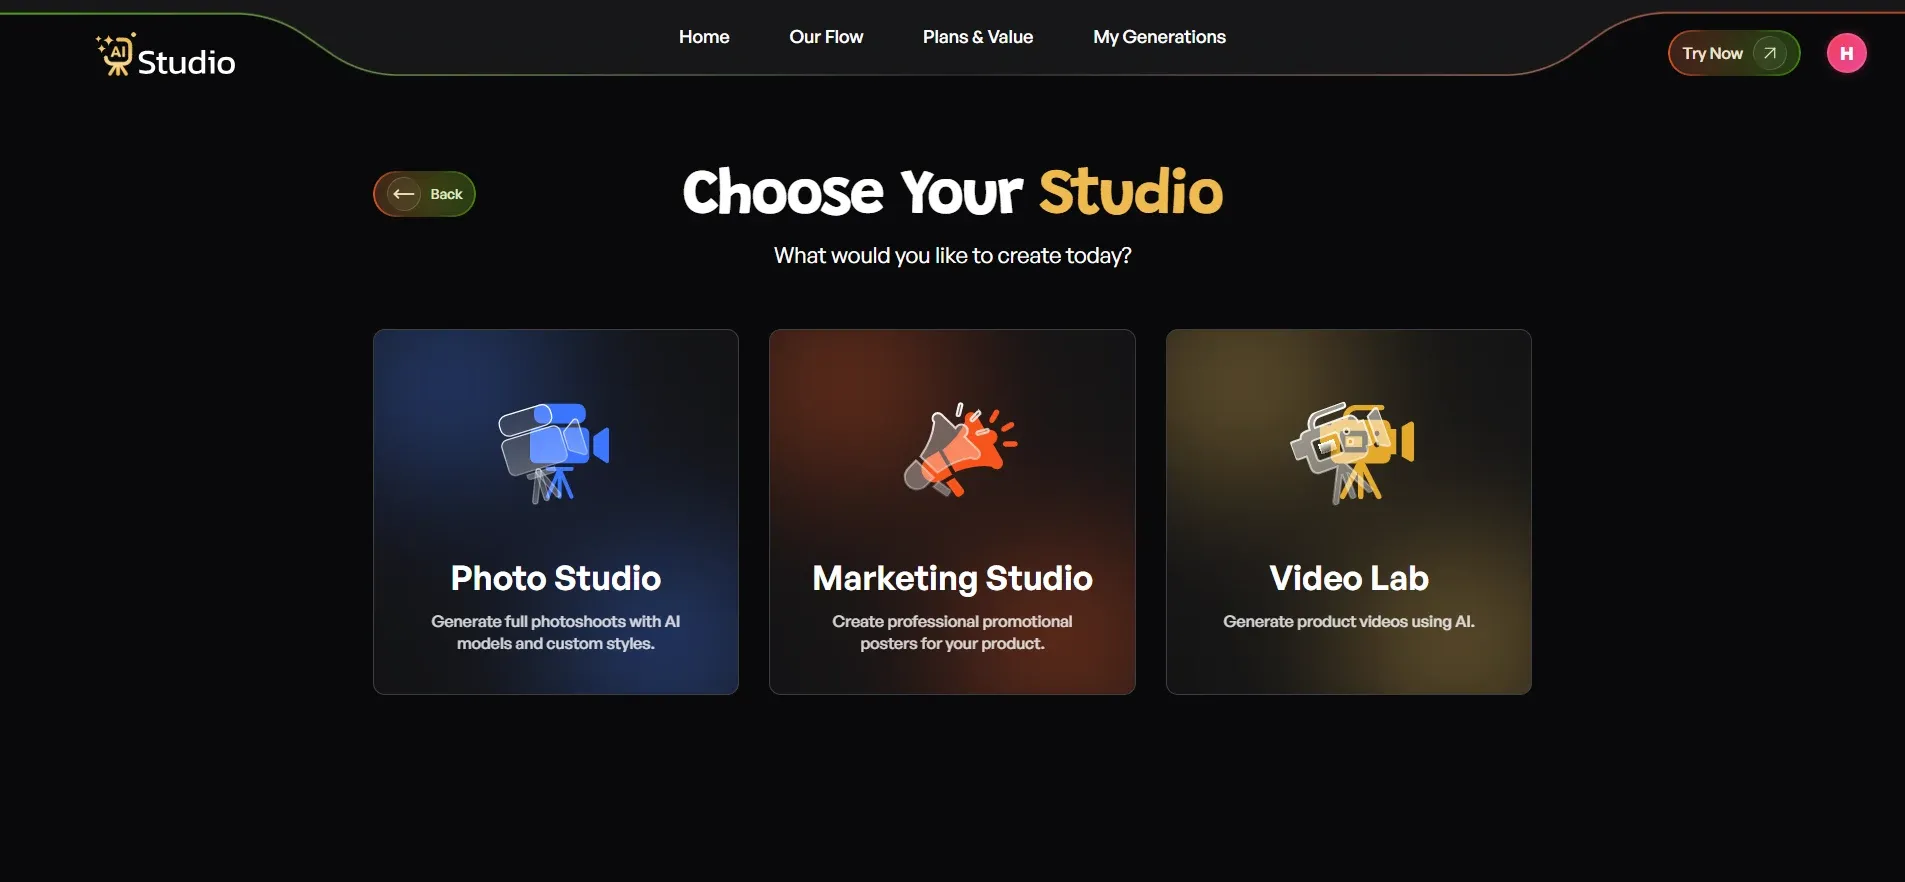
- Inside the dashboard, you'll see three options: Photo Studio, Marketing Studio, and Video Lab.
- For a product photoshoot with model, you want Photo Studio, since this is where all your image generation happens, similar to any ai image generator workflow you may have tried before.
Step 3: Select Your Category
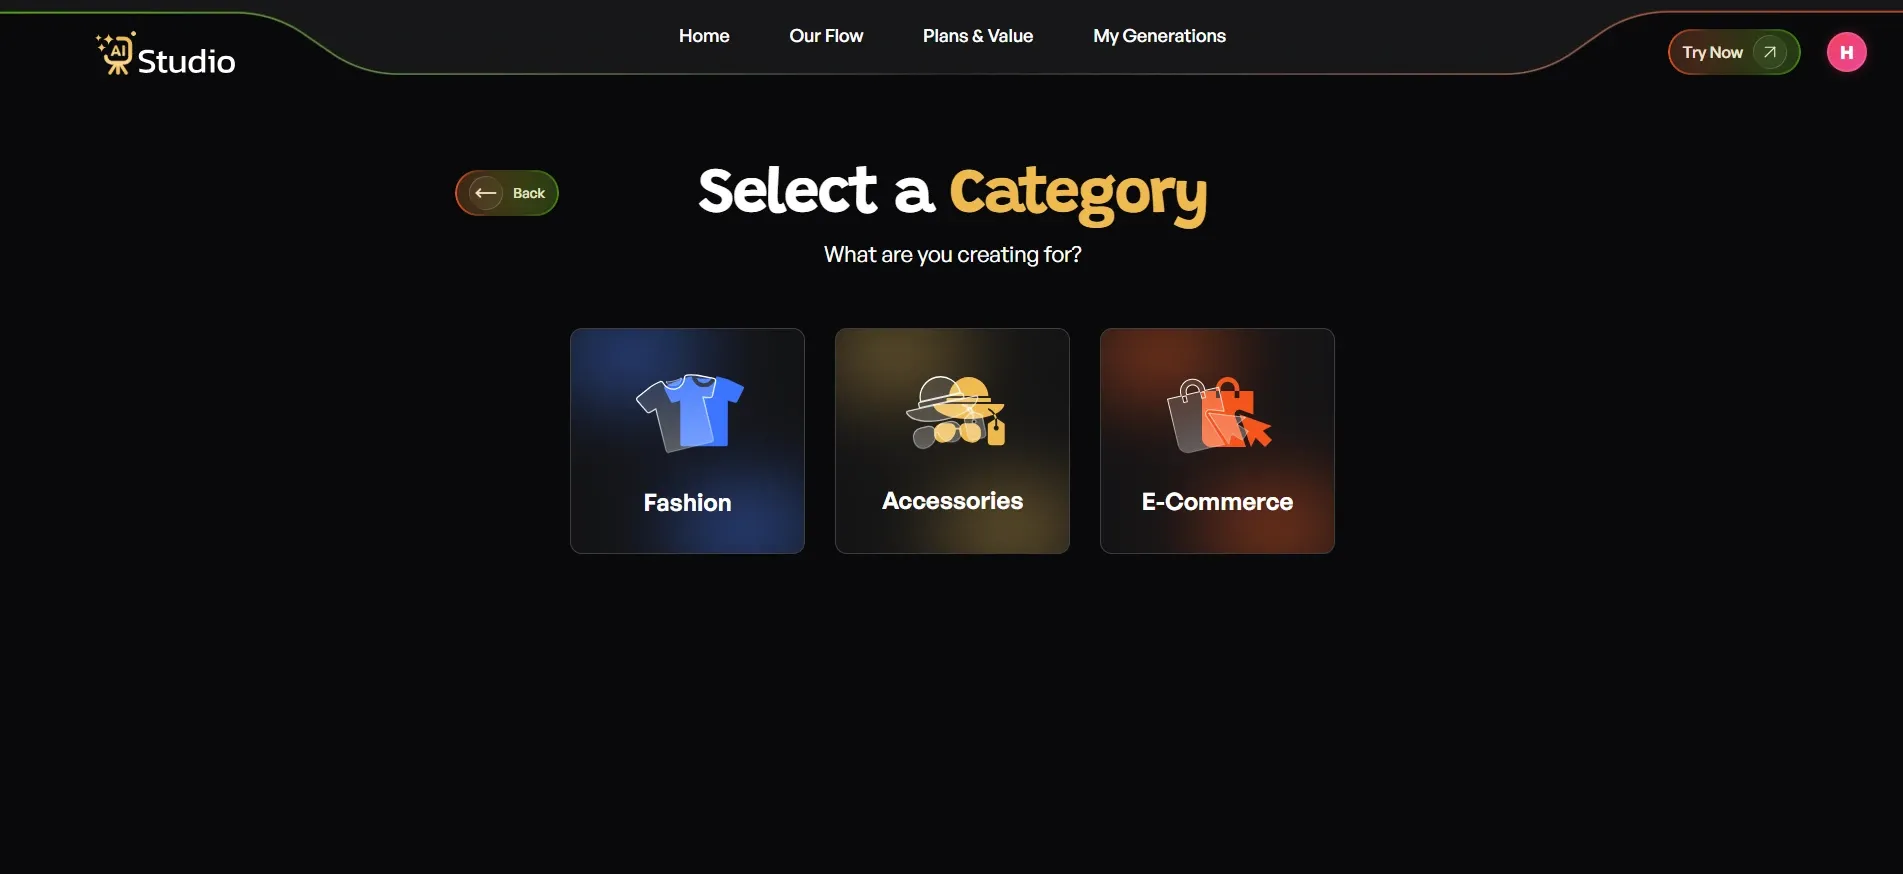
You'll be asked what your creation is for: Fashion, Accessories, or E-commerce.
- Choose Fashion if you're selling clothing like kurtas, t-shirts, dresses, or ethnic wear.
- Choose Accessories if you sell watches, jewelry, bags, belts, or sunglasses.
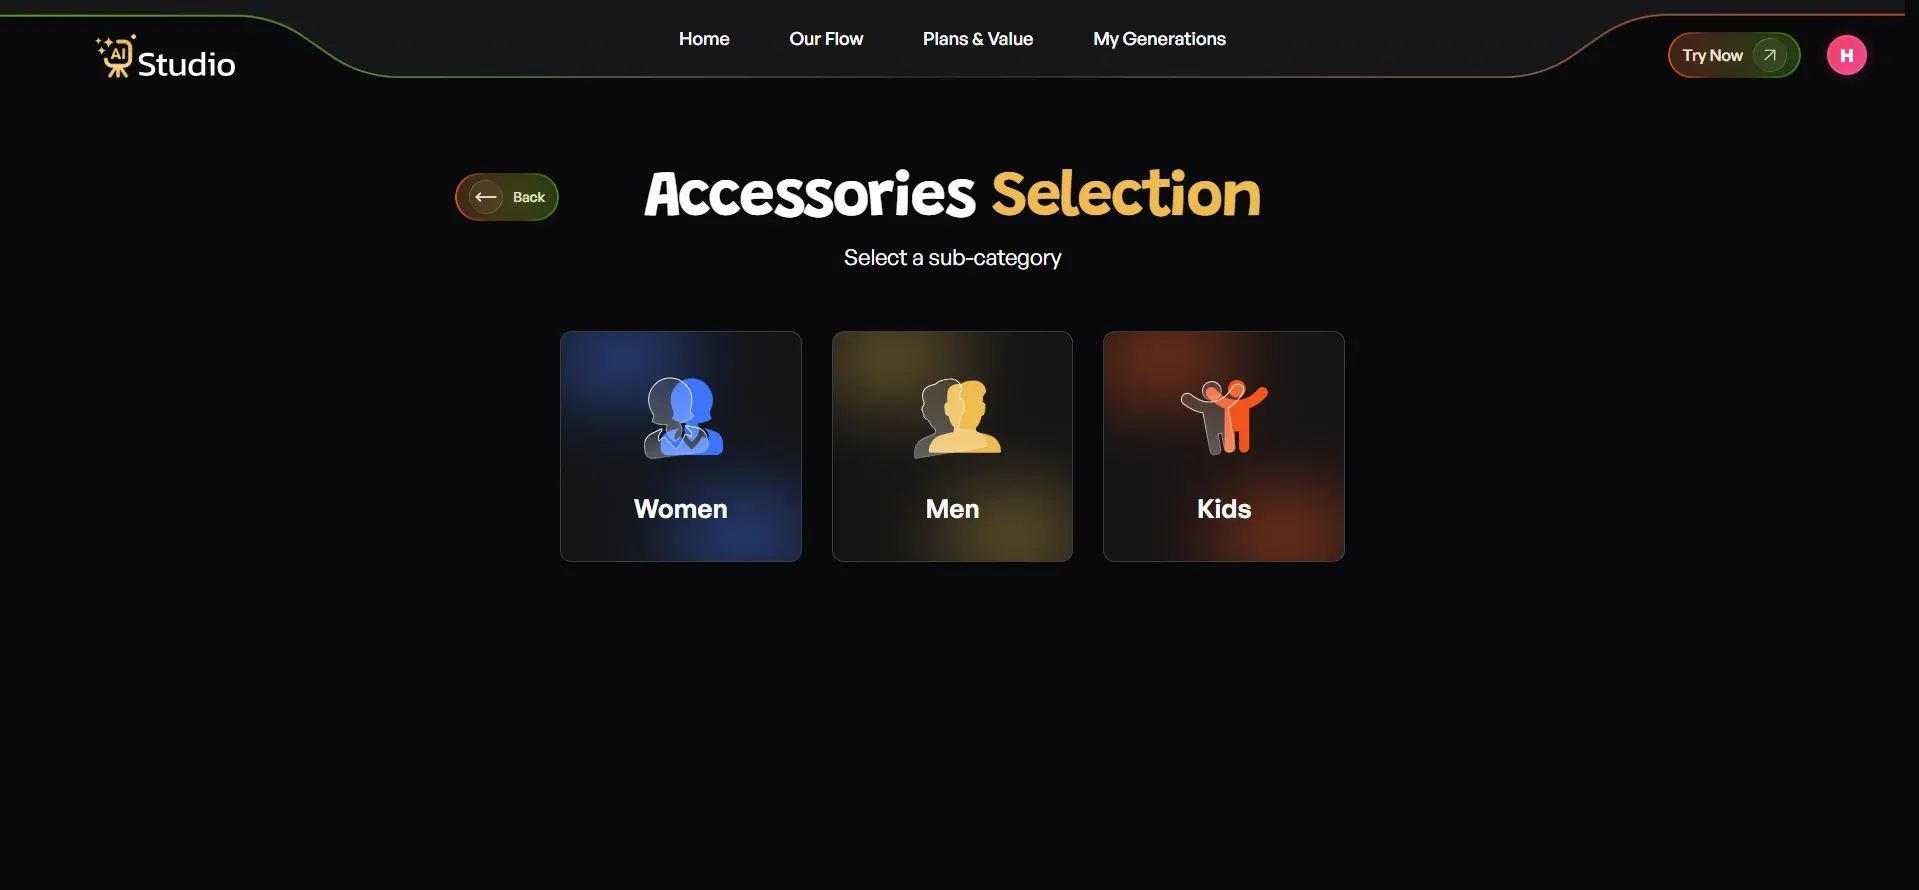
- Choose E-commerce for general product listings like electronics, home goods, or beauty products. Once you pick Fashion or Accessories, you'll also be asked to choose Women, Men, or Kids, so the AI knows which type of virtual model to generate for your product.
Step 4: Select Your Subcategory
- Under your chosen category, pick the specific subcategory that matches your product, for example kurta set under Fashion, or necklace under Accessories.
- This helps the AI understand exactly what it's working with before you upload anything.
Step 5: Upload Your Product Photo
This is the step that decides most of your final quality.
- Select your specific product type, for example kurta, watch, or necklace.
- Upload a Primary Image, a clear, front facing photo of your product (required).
- Add a second image if you have another angle (optional, but recommended).
- Keep the background plain white or light colored for the best result, or clean it up first with an ecommerce photo background remover AI.
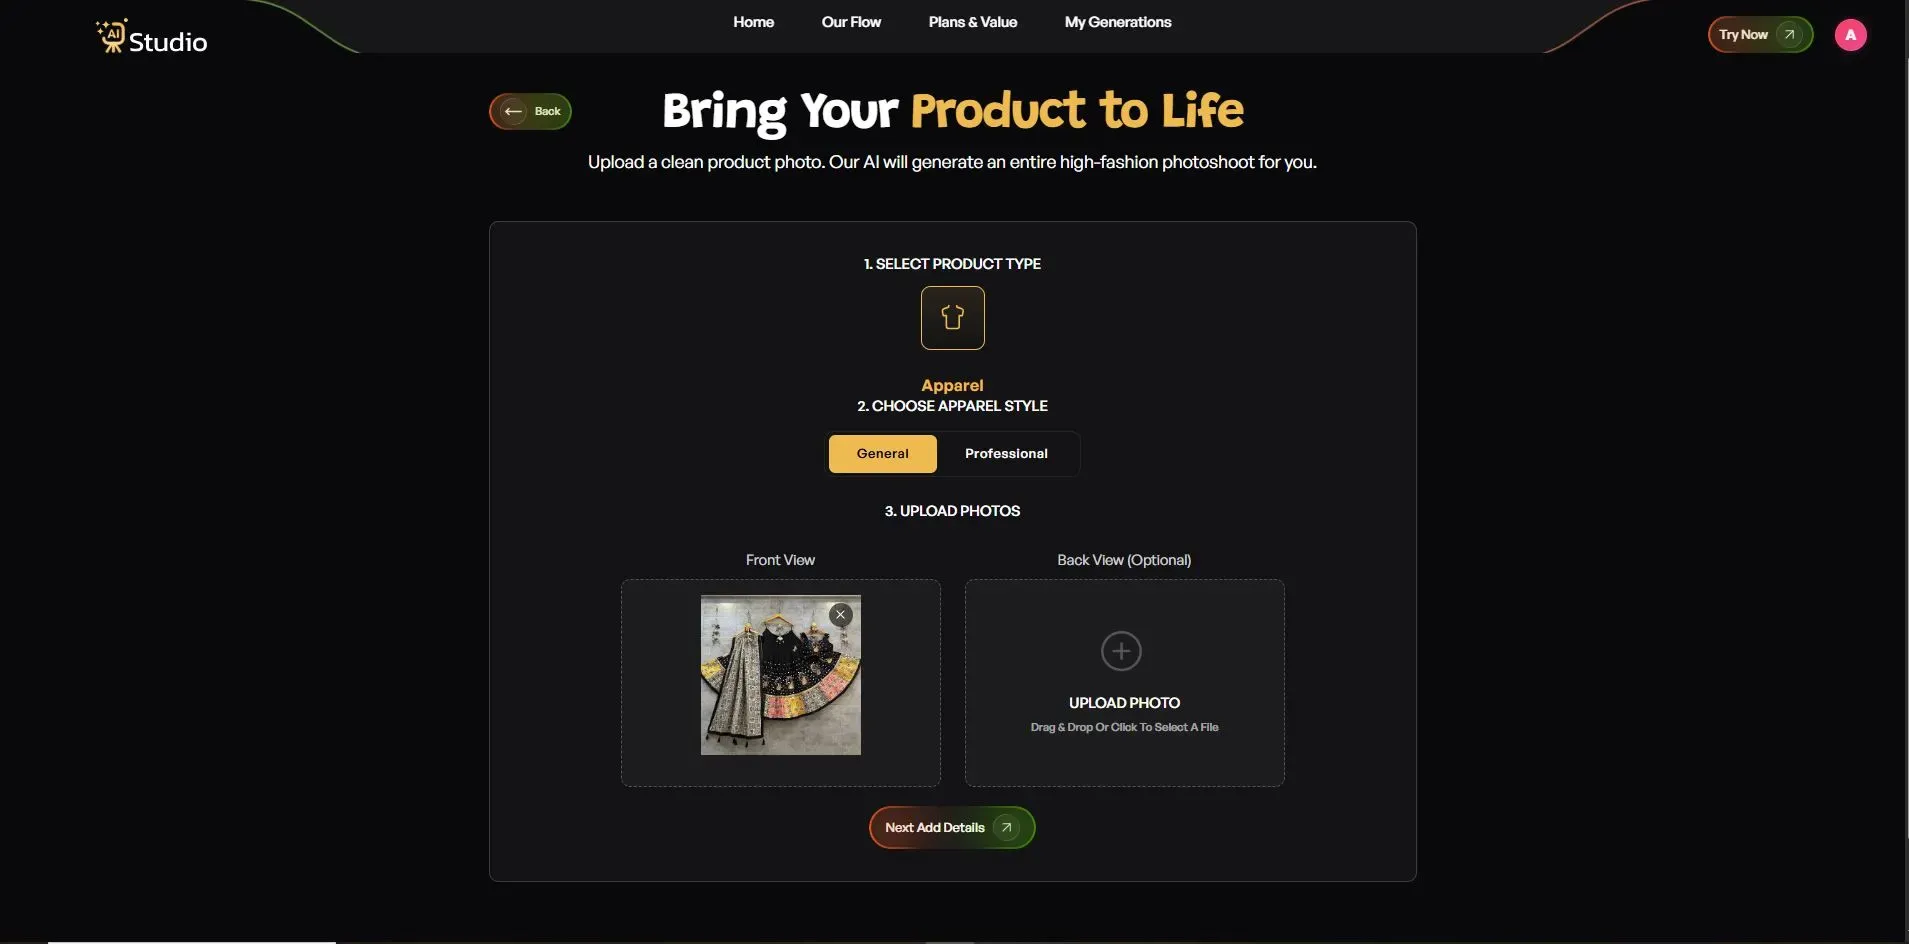
Any phone photo works fine as long as it's in focus and reasonably well lit.
Step 6: Fill In the Final Details
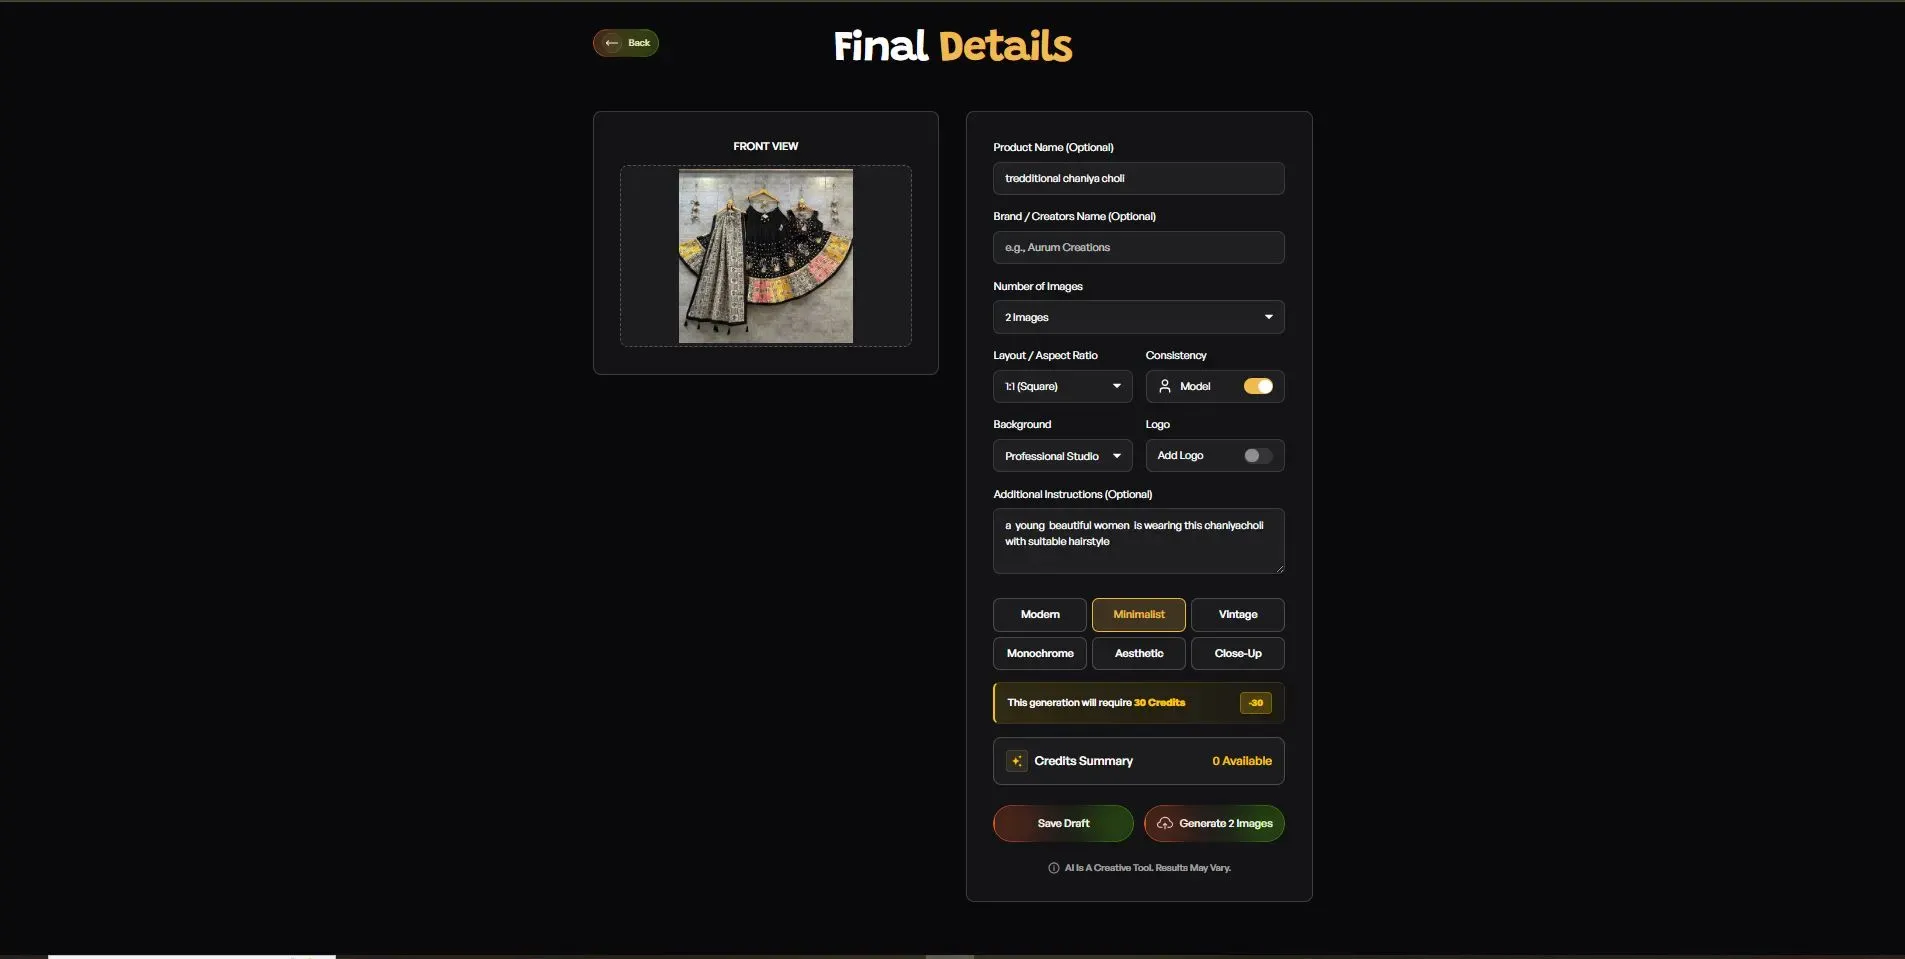
- Add your Product Name and Brand Name (optional, but helps with consistency).
- Set the Number of Images you want generated: 2, 4, or more.
- Choose your Layout or Aspect Ratio: 1:1 square for Amazon, 4:5 for Instagram feed, 16:9 for banners.
- Toggle Model Consistency on if you're generating a full catalog and want the same model across every image.
- Choose a Background: Solid White works best for Amazon's main image slot, while lifestyle backgrounds suit Shopify.
- Pick a Style: Modern, Minimalist, Vintage, Monochrome, Aesthetic, or Close Up.
- Add a Logo if you want your brand watermark on the image.
- Write any Additional Instructions, for example "warm lighting, outdoor setting, focus on product details."
Step 7: Download Your Image
- Click generate, and within about 10 seconds your image is ready in full resolution.
- No retouching and no back and forth with an editor. It's ready to go straight onto your Amazon listing, Shopify store, or Flipkart catalog.
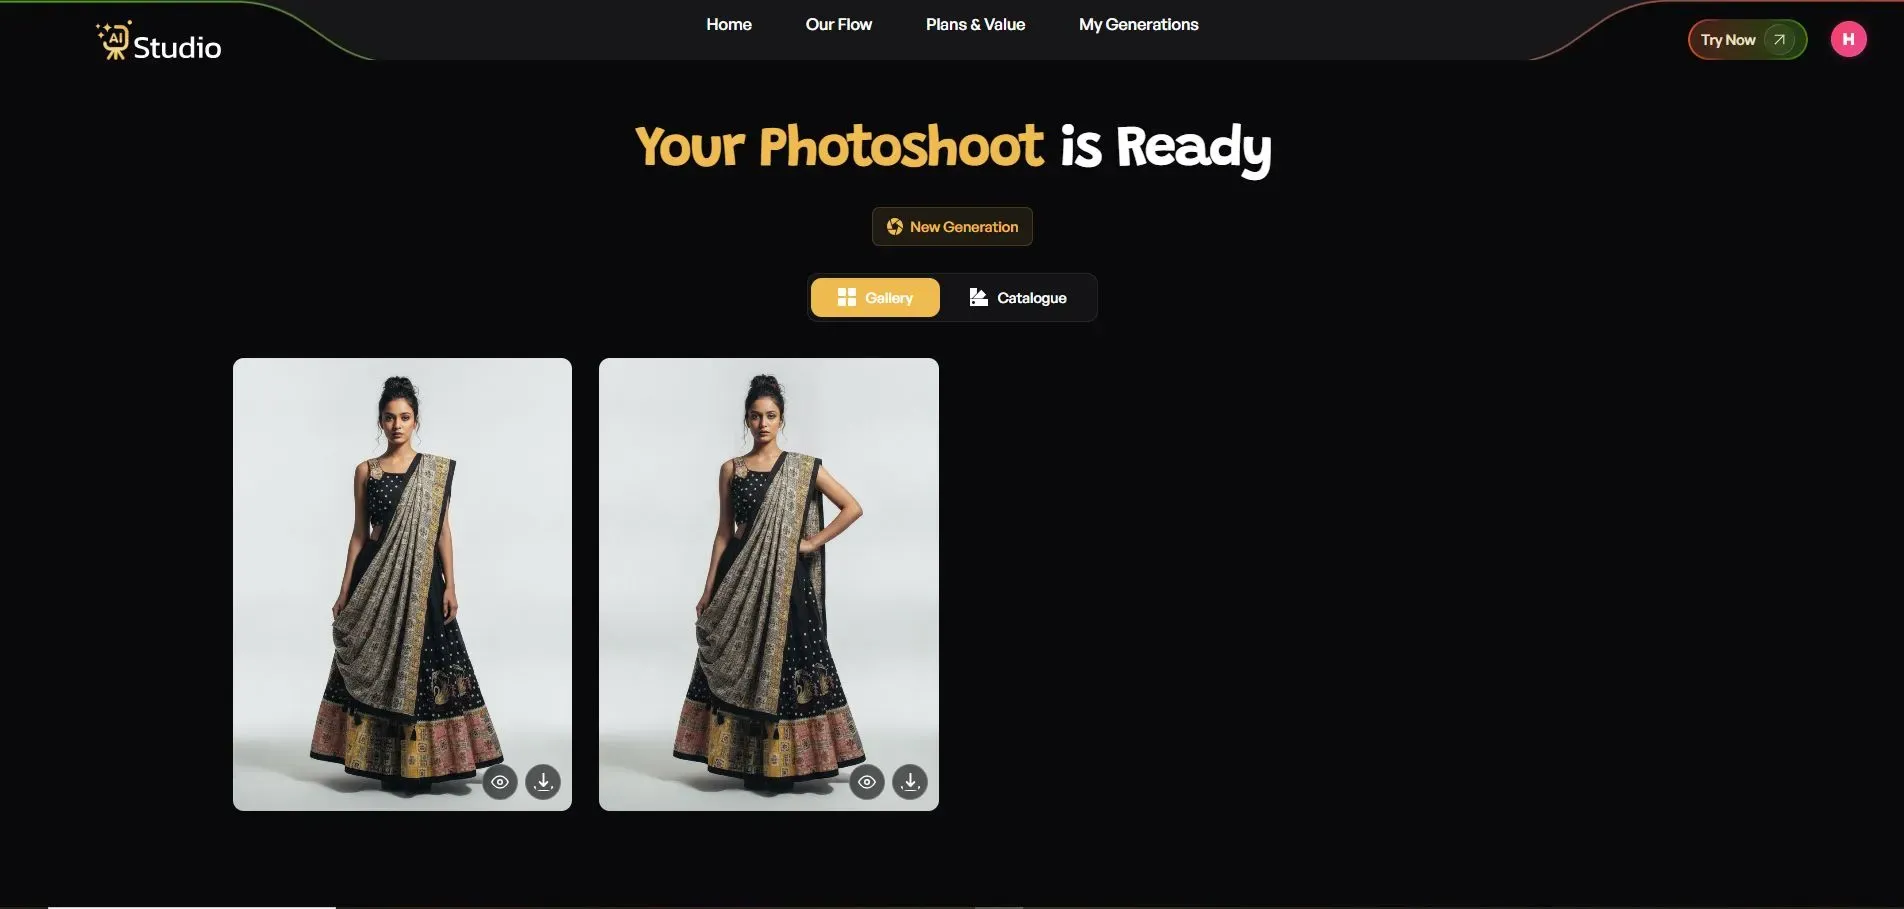
Here's how it kind of works out for real sellers. A fashion brand uses an AI fashion photography generator with actual model style looks, so they can show how a Chaniyacholi drapes on a person without booking a genuine model, or renting a studio for the whole day.
A jewelry seller just uploads one close, well lit shot and then generates a clean, reflective image that really emphasizes the polish and the cut, honestly, that's the part that usually needs a professional lighting rig, which is where an AI jewelry product photography tool helps a lot.
Meanwhile a Shopify store can batch generate an entire lookbook style gallery in one sitting, instead of setting up a separate shoot for every new drop, every time. And on Amazon, a seller can build out a complete image stack for one listing, mixing a plain white main image with a few ai product generator shots for the secondary slots, all sourced from a single product photo.
AI vs Traditional Studio Photoshoot: Cost and Time
So, let's put it side by side, because numbers are louder than opinions when you're running tight on a budget. I've sat with sellers who did the math on paper for the first time, and they were genuinely surprised at how much one single shoot day was costing them once you count the model fee, studio rent, and the editor's turnaround time.
| Factor | Traditional Studio Shoot | AI Photoshoot (like AI Studio) |
|---|---|---|
| Cost per shoot | ₹10,000 to ₹50,000 | Starting around ₹600/month |
| Time to get photos | 3 to 10 days | About 10 seconds per image |
| Model booking needed | Yes | No |
| Studio or lighting setup | Yes | No |
| Consistency across catalog | Depends on photographer | Consistent every time |
This is exactly why so many sellers are shifting toward an automated product photography solution, instead of scheduling repeat shoots every time a new SKU drops. When you're listing like 20, or 30 products a month, the savings pile up fast and honestly so does the time you get back.
There's also that scaling angle people don't notice right away. A traditional shoot gives you a fixed set of images for a fixed cost, but if you need an extra angle or a different background next month you're paying, and waiting, again. This is a big reason sellers now compare AI vs traditional product photography before committing to either route.
With a product ai image generator workflow, generating five more variations costs you nothing extra past your monthly plan. It matters a lot when your catalog keeps expanding.
Where to Use Model Shots: Amazon, Shopify, and Flipkart
Not every platform expects the same kind of picture, and it messes up a bunch of new sellers, like honestly. Let me walk you through how each one behaves so you don't end up wasting a solid photo in the wrong spot, or, you know, the wrong place altogether.
Amazon Secondary Image Rules
Your main image on Amazon needs a pure white background with only the product, no model, no props. But your secondary images, the slots two through seven, are exactly where an on model AI fashion photo without model shoot (so no real model was hired) tends to work best.
This is the place where the how to improve Amazon listing images questions usually get answered, because shoppers scroll through those frames first before adding anything to cart.
A common way to do it is to keep the main image compliant and clean, then use two or three model shots plus one lifestyle or infographic style image to fill out the rest of the slots.
Shopify Gallery and Lifestyle Images
Shopify gives you way more freedom. Like, your product page can carry lifestyle shots, model shots, and those styled scenes right there alongside your main image.
A Shopify AI image generator approach works well too because you can build an entire visual story for one product, from close up all the way to a full lifestyle scene, without booking a single shoot.
And since Shopify stores are kind of your brand's home page as well, consistency across every product's gallery tends to matter more here than on marketplaces, and that's where the Model Consistency setting inside AI Studio really helps, especially for anyone running a full virtual product photoshoot for Shopify.
Flipkart Listing Requirements
Flipkart sort of sits somewhere in the middle, between Amazon and Shopify. I mean, main images have to be clean and really product focused, but secondary slots often perform better with model shots, especially for fashion and jewelry categories where the fit, and the overall look, matter a lot to the buyer.
Flipkart also takes into account the total image count and the clarity, when it ranks listings, so sellers who use every image slot with crisp, well lit photos, and include model shots too, usually end up getting better visibility over time.
Common Mistakes Sellers Make with AI Model Photos
I've reviewed a lot of seller catalogs, and the same few mistakes keep showing up. Most of the time, it's not the tool that's the problem, it's how the workflow gets rushed.
- Using a pose that looks stiff or unnatural for the product category
- Picking a model skin tone or style that doesn't match your actual buyer base
- Ignoring platform size and format rules, then getting listing images rejected
- Sticking only with model shots and never testing flat lay or ghost mannequin against them
- Using a blurry or badly lit source photo, which limits AI generated product images quality no matter how good the tool is
- Publishing an entire catalog in bulk without reviewing each image individually first
Small business owners, especially, often skip the testing step maybe more than they realize. Just ask yourself does your best seller actually perform better with a model shot in it, or without one at all. You won't really know until you test both sides, and honestly it usually only takes one afternoon to run that comparison the right way, which is a common step in most AI product photography for small business checklists.
Best Practices for High-Converting Model Shots
Here are a few things that consistently work, based on what I've seen sellers do right.
- Always start with a clean, well lit source photo before generating anything
- Match the model's look to your actual target buyer, not just whatever looks trendy
- Keep Amazon secondary images simple and product focused, following general product photography tips for sellers
- Use lifestyle backgrounds for Shopify to help tell a story around the product
- Stay consistent in lighting and style across your whole catalog, since this builds trust
- For categories like jewelry, a high-quality AI product photos for jewelry approach with close up detail shots tends to convert better than full body shots
- Run a small batch first and check every image before generating your whole catalog
- Keep a folder of your favorite settings, like background, style, and layout, so repeat products stay consistent
These basic habits are usually the real difference between a listing that gets clicks and one that gets scrolled past. And none of this really needs design experience; it's more or less about being a bit deliberate instead of generating everything in one rushed batch. If you do that, you end up with small improvements that people actually notice.
Conclusion
Getting a professional product photo shoot with a model used to be a tedious process that required heavy investments of both time and money.
With AI product photography tools, like AI Studio, anyone can achieve professional-grade product photos in a matter of seconds with minimal effort, using an AI product image generator for Shopify store or a similar setup built for Amazon and Flipkart sellers too.
This means faster product listings with better pictures that are compatible with Amazon, Shopify, and Flipkart, and most importantly, the financial burden is significantly reduced.
If you're someone who has struggled to balance quality product photos with an affordable budget, give this method a try on your next product listing.