How to Create Amazon Product Photos with AI (No Studio, No Photographer Required)

You have a great product. You have good-looking packaging. You offer great prices. But you see, your Amazon listing is being completely overlooked! Have you heard this too? I have come across this situation quite often as a seller myself. What usually goes wrong in such situations is the photography part.
Professional studio shots from India can range from as low as ₹10,000 to ₹50,000 per shoot. Now consider model fees, location fees, and editing costs to add on to the price tag. The best part is that all of these are no longer required. With this guide, I am going to walk you through a simple way to create Amazon product photography with AI using nothing but your smartphone.
Why Amazon Product Photos Make or Break Your Sales
This is the truth. On Amazon, your buyer cannot touch and feel your item physically. Images play the most crucial role here. If they seem boring, unclear, or low-quality, chances are your buyer will move on after looking at them for less than two seconds.
In my experience, I have helped a lot of sellers in different categories like clothing, jewelry, home decor, and electronic devices. But what has become clear through all these sellers is that the ones who have a higher conversion rate share one common aspect: their images are professionally done. Listings that contain seven or even more high-quality images usually have higher click-through rates and lower return rates than listings with two or three bad images.
Low-quality images not only lose your sales but also degrade your product listing as time goes by. Amazon is known for its algorithm that prioritizes listings that can attract customers effectively, and bad images hinder this process.
- Buyers judge trust within 2 to 3 seconds of landing on your listing
- Low-quality images = higher bounce rate = lower ranking
- High-quality images reduce return rates because buyers know exactly what they are getting
- More images give you more space to tell your product's story
This is exactly why more and more Indian sellers are now switching to AI product photography instead of booking expensive studio sessions.
What Makes an Amazon Image High-Converting?
Not all product pictures are made equally. To create a successful listing, one needs to do more than provide a "decent picture."
The main image should be clean and clear, featuring the product on a plain, white background. That is the Amazon requirement for a main image. However, when it comes to secondary images slots 2 through 7 you have more creative freedom to showcase why your potential customer should trust you.
- Main image: White background, product centered, no text or watermarks
- Secondary images: Lifestyle shots, size reference charts, feature callouts, how-to-use visuals
- On-model photos (for fashion/apparel): Show your product being worn so buyers can visualize the fit
- Close-up detail shots: For jewelry, fabric texture, or product features that need to be highlighted
- Infographic-style images: Highlight key features with clean text overlays (not on main image)
By checking top-selling images, you will see that is precisely what they do. But here is the catch: with an efficient AI product image generator, you will not need to book a studio for any of these types of images.
Amazon's Product Image Requirements You Must Follow
However, before getting into image generation, allow me to give you an idea about what is expected by Amazon. In reality, many vendors overlook this important point until they find out later why their images or listings have failed.
There are certain technical requirements that need to be followed by each image that you post. Failure to comply with these technical requirements when it comes to the main image may render your listing inactive.
For your main product image:
- Background must be pure white, specifically the RGB value #FFFFFF
- The product must fill at least 85% of the image frame
- Minimum image size is 1000 x 1000 pixels. Go for 2000 x 2000 pixels so buyers can zoom in without blur
- File format should be JPEG. Amazon also accepts TIFF, PNG, and GIF, but JPEG gives the best quality-to-size ratio
- Color mode should be sRGB or CMYK
- No watermarks, text overlays, logos, or decorative borders on the main image
- The product shown must be the exact item being sold, not a different variant or sample
For secondary listing images (slots 2 to 7):
You have a lot more freedom here. Lifestyle shots, on-model photos, size comparison charts, infographics, and even close-up detail shots are all allowed. This is where your AI fashion photography generator or lifestyle scene generator becomes incredibly useful.
Quick pro tip: AI-generated images that look photorealistic and accurate are fully compliant with Amazon's guidelines. What Amazon cares about is that the image looks professional and represents the product truthfully. A well-made AI image does exactly that.
How to Create Amazon Product Photos with AI: Step by Step
Well, here is the part that you have been eagerly waiting for. Now, let us go through the whole process of making Amazon product pictures using an AI-powered method. I will try to make this section quite practical because that works.
You do not require any sophisticated equipment. You do not require any prior knowledge of photography. All you need is your product, your mobile phone, and a reliable AI software. That is all.
Let us see how to do it using AI Studio, one of the best AI-powered software solutions for Indian ecommerce sellers today.
Step 1: Create a Free Account and Log In
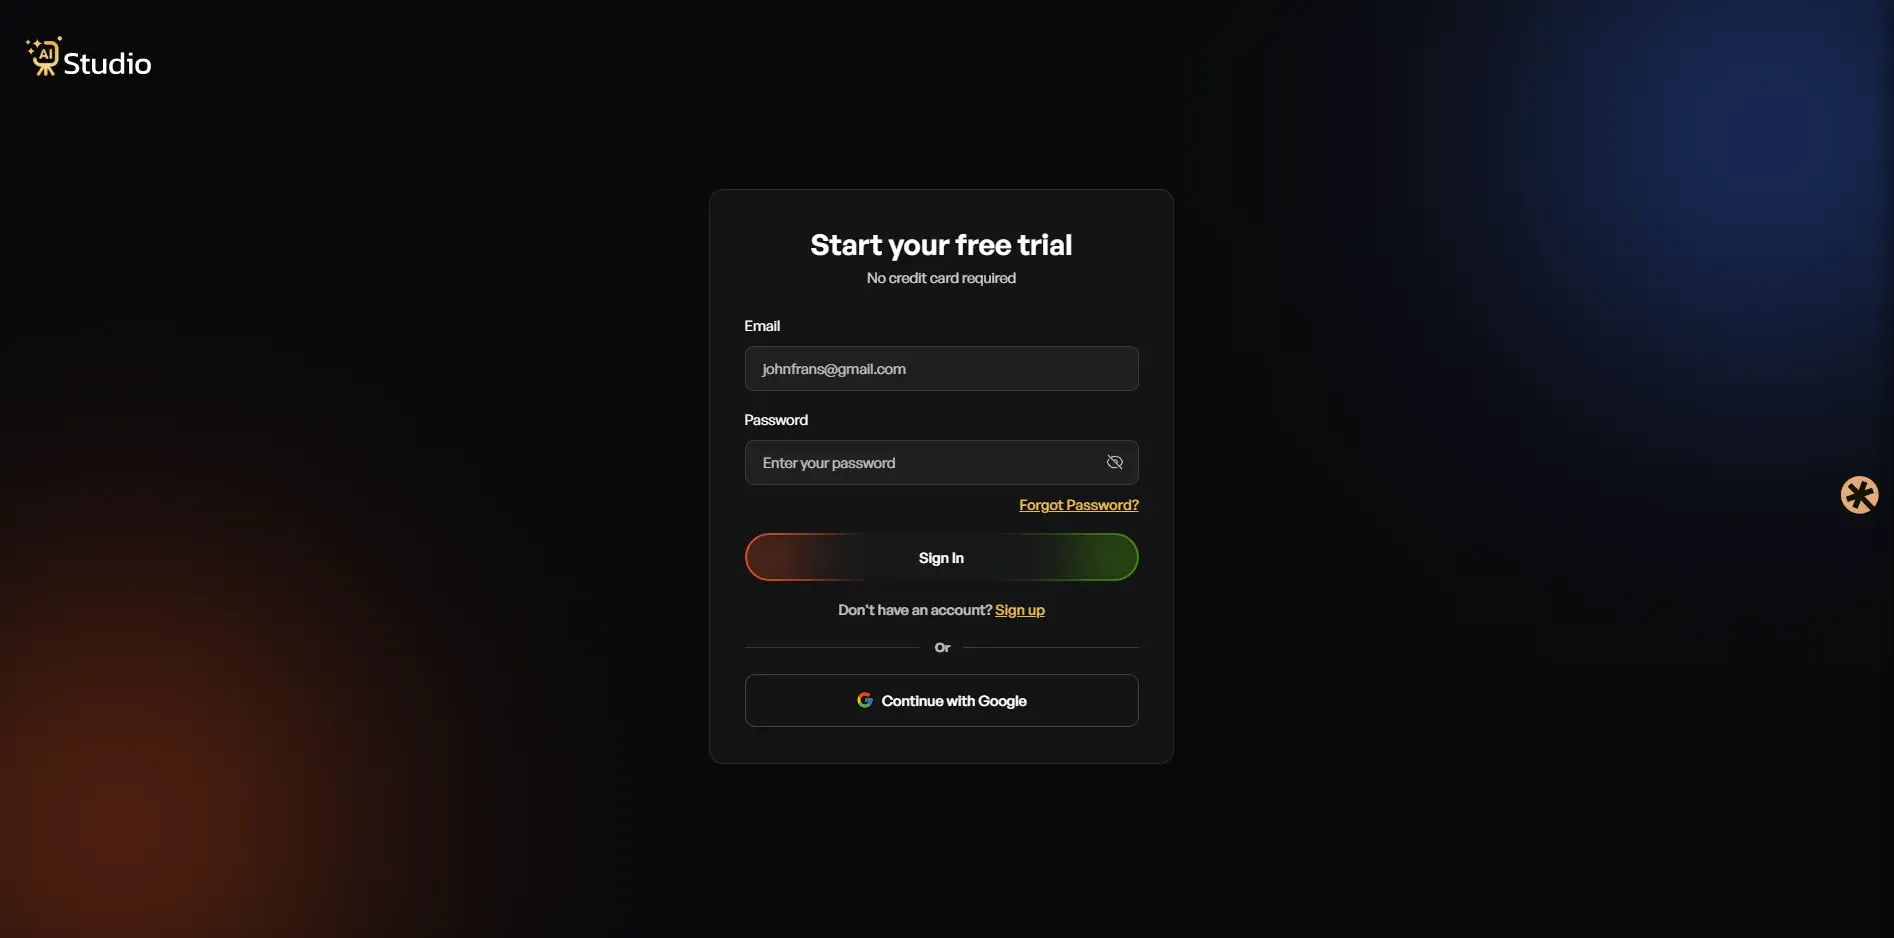 Sign up at tryaistudio.app without paying anything. It does not require you to input your credit card details. After you log in to your account, your dashboard will appear, and it will be time to make your first picture.
This will be your starting point. The entire procedure lies in your dashboard where you choose your studio, and you can take some time to look around.
Step 2: Choose Your Studio
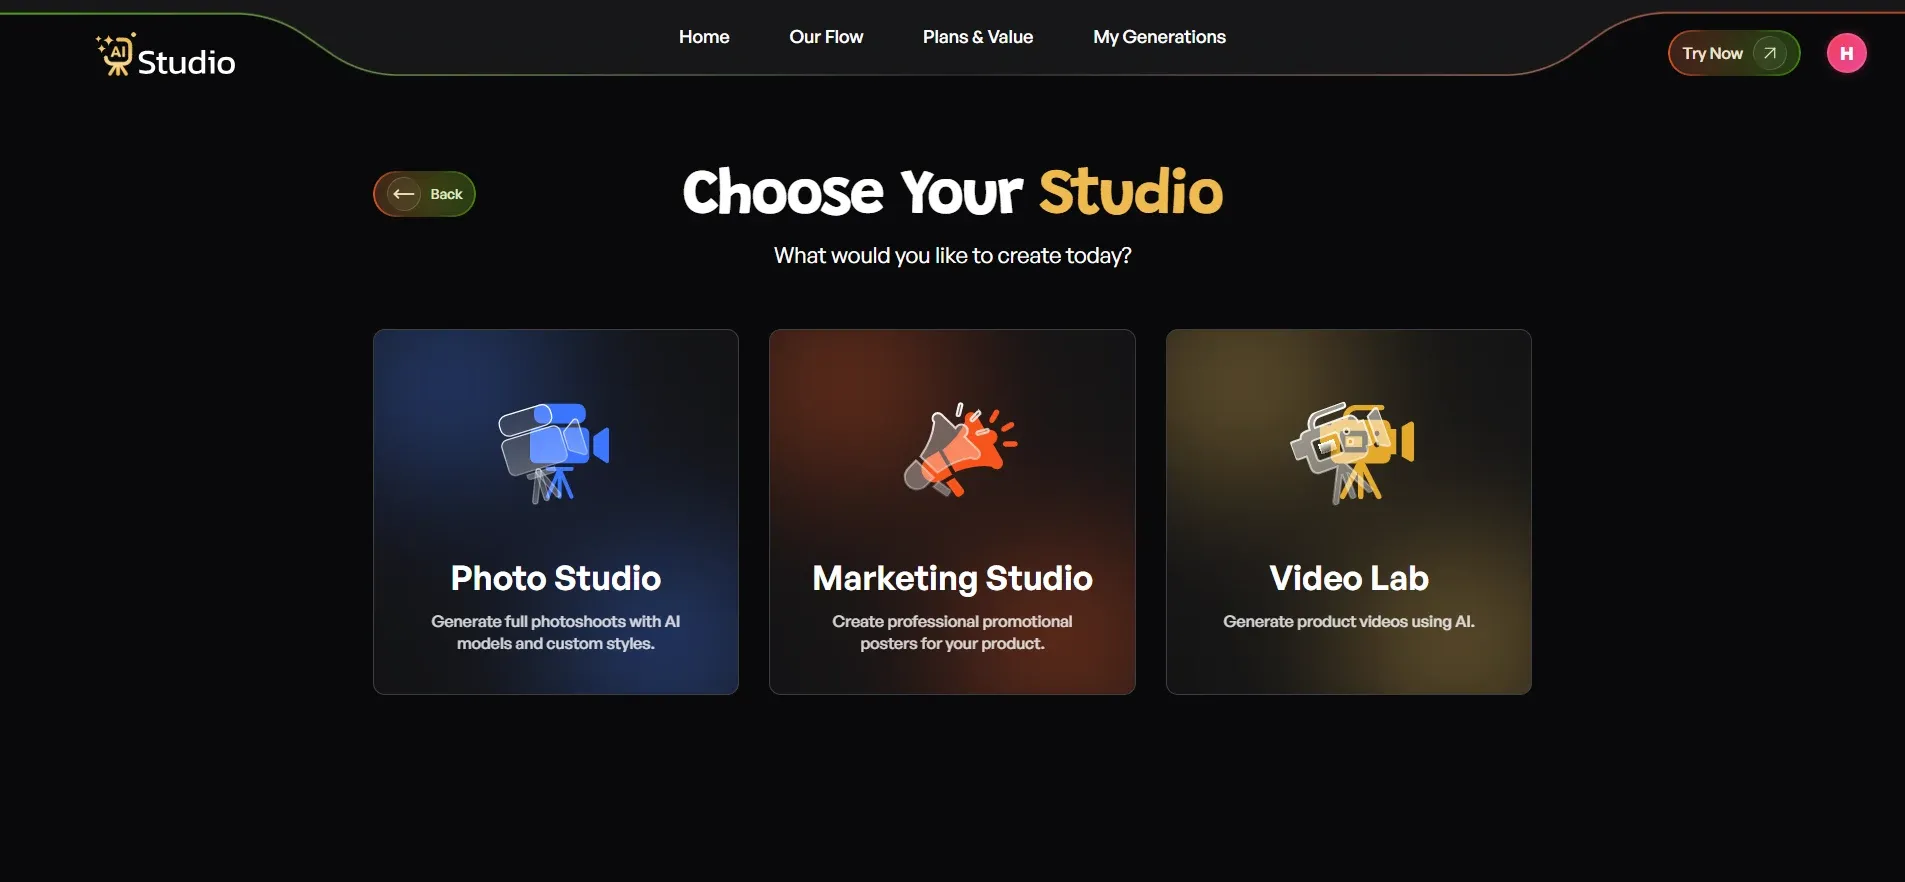 In the dashboard, there are three sections: Photo Studio, Marketing Studio, and Video Lab.
If you wish to make product images for your Amazon listing, then the first thing that you need to do is select the "Photo Studio" section. It is in this section that the whole AI photography process takes place.
Step 3: Select Your Category
 Next, the tool asks you what your creation is for. You will see three main categories: Fashion, Accessories, and E-Commerce.
- Choose Fashion if you sell clothing like kurtas, t-shirts, dresses, sarees, or ethnic wear
- Choose Accessories if you sell jewelry, watches, bags, belts, sunglasses, or similar items
- Choose E-Commerce for everything else: electronics, home goods, beauty products, kitchen items, and general product listings
Once you pick your top-level category, you would also need to select its subcategory, which, in the case of the Fashion and Accessories category, would be Women, Men, or Kids. This is essential because by picking this, you inform the AI whether it should create a female, male, or child virtual model to showcase your product.
For instance, if you want to promote your women's kurta, then you need the AI to know that it is supposed to showcase it on a woman's figure.
Step 4: Select Your Subcategory
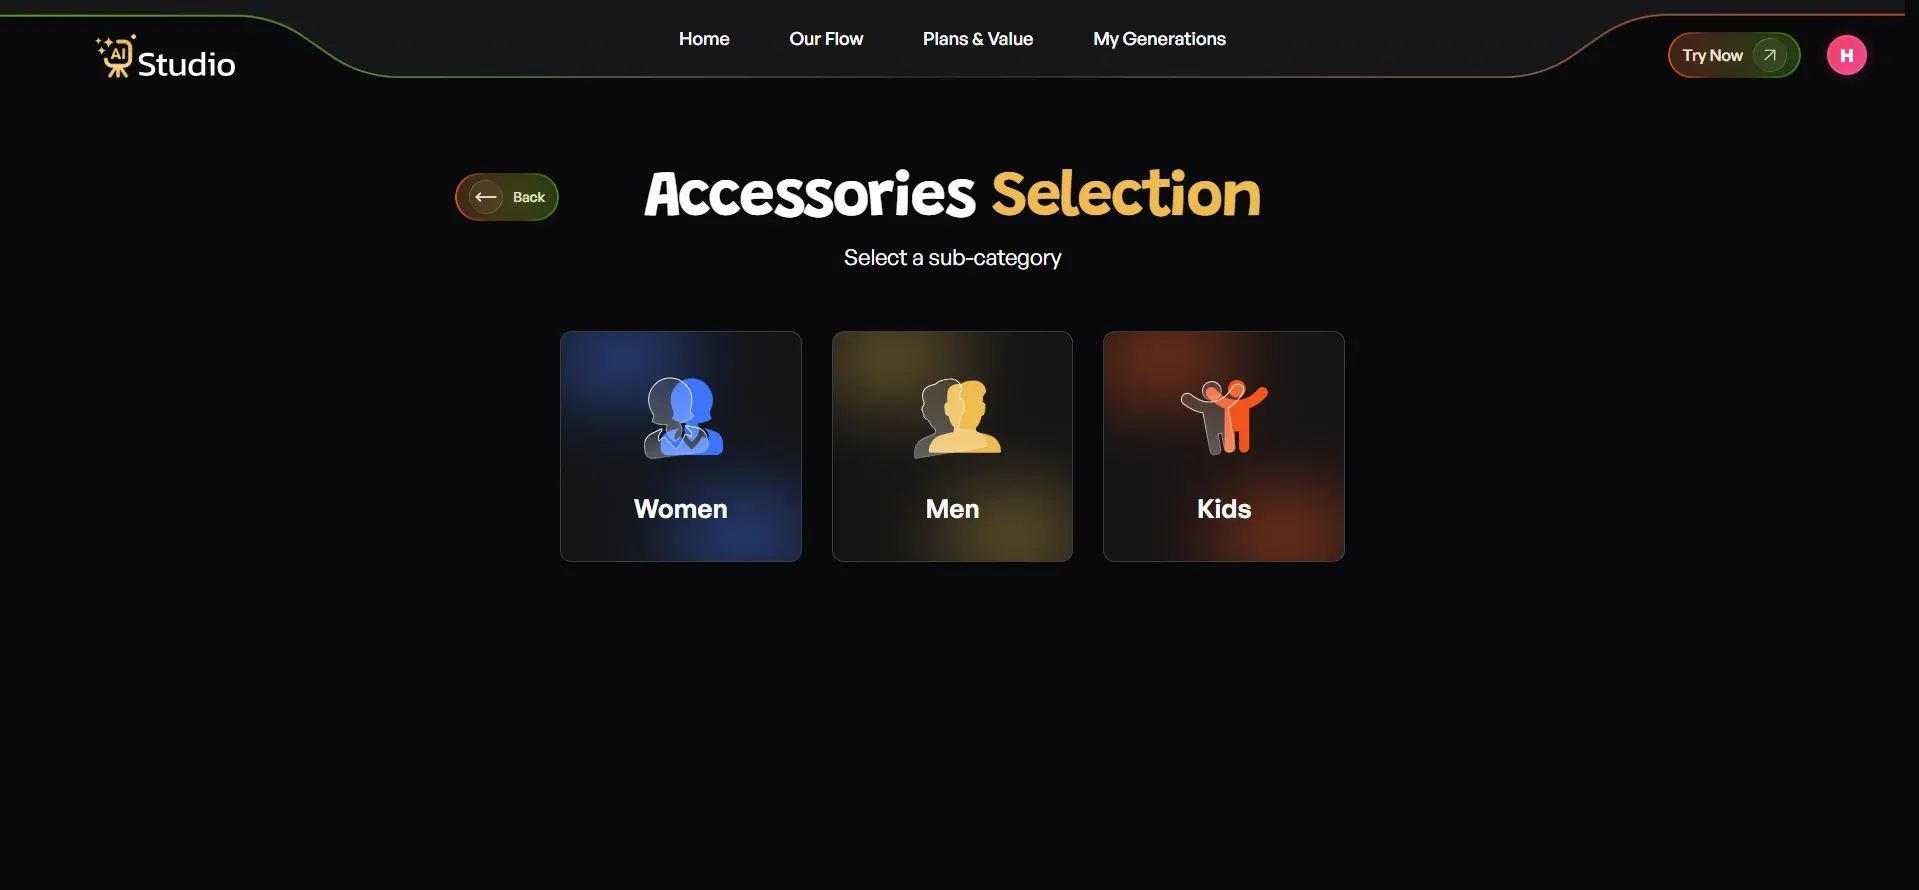
First of all, you have to enter in sub-cateogary, you can choose the specific category like men, women, or kids. The subcategories would include Watch, Belt, Perfume, Jewelry, or Bag. When you choose Fashion, you can go for the various subcategories like Tops, Ethnic Wear, Dresses, and so forth.
Being that specific about your product type ensures that the AI gets the perfect understanding of what to work on to generate your images.
Once you have selected the required subcategory, you will be directed to the page for uploading the product image.
Step 5: Upload Your Product Photo
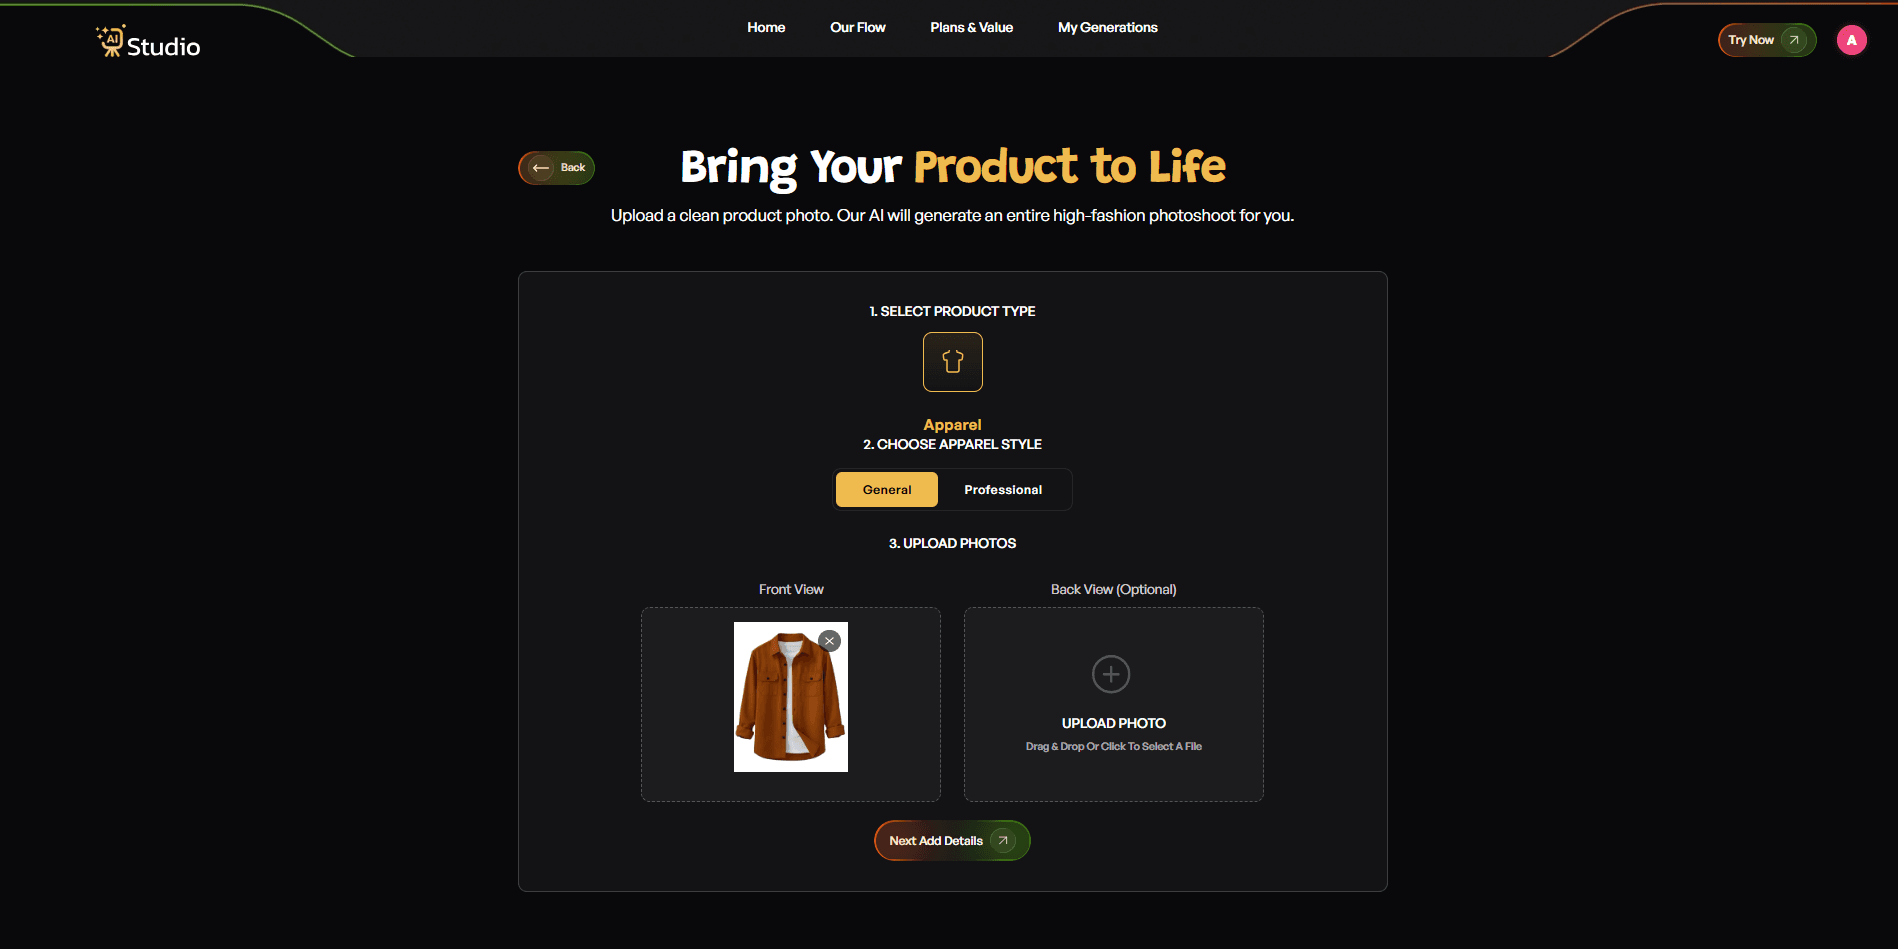 This is where your product image plays its part. You will be requested to upload:
- Primary Image: A high-quality, front-facing image of your product (mandatory)
- Secondary Image: Another view from another angle of the product (optional, but highly advised for accessories)
To get the best quality image, the following are required:
- Neutral color (white or light grey) background
- Bright light, ideally natural sunlight from a window
- High clarity, meaning the product is focused properly
- Free from any stickers or packaging marks
Even your phone can deliver quality images. You do not have to use a professional camera. After uploading the image, simply click Next: Add Details.
Step 6: Fill In the Final Details
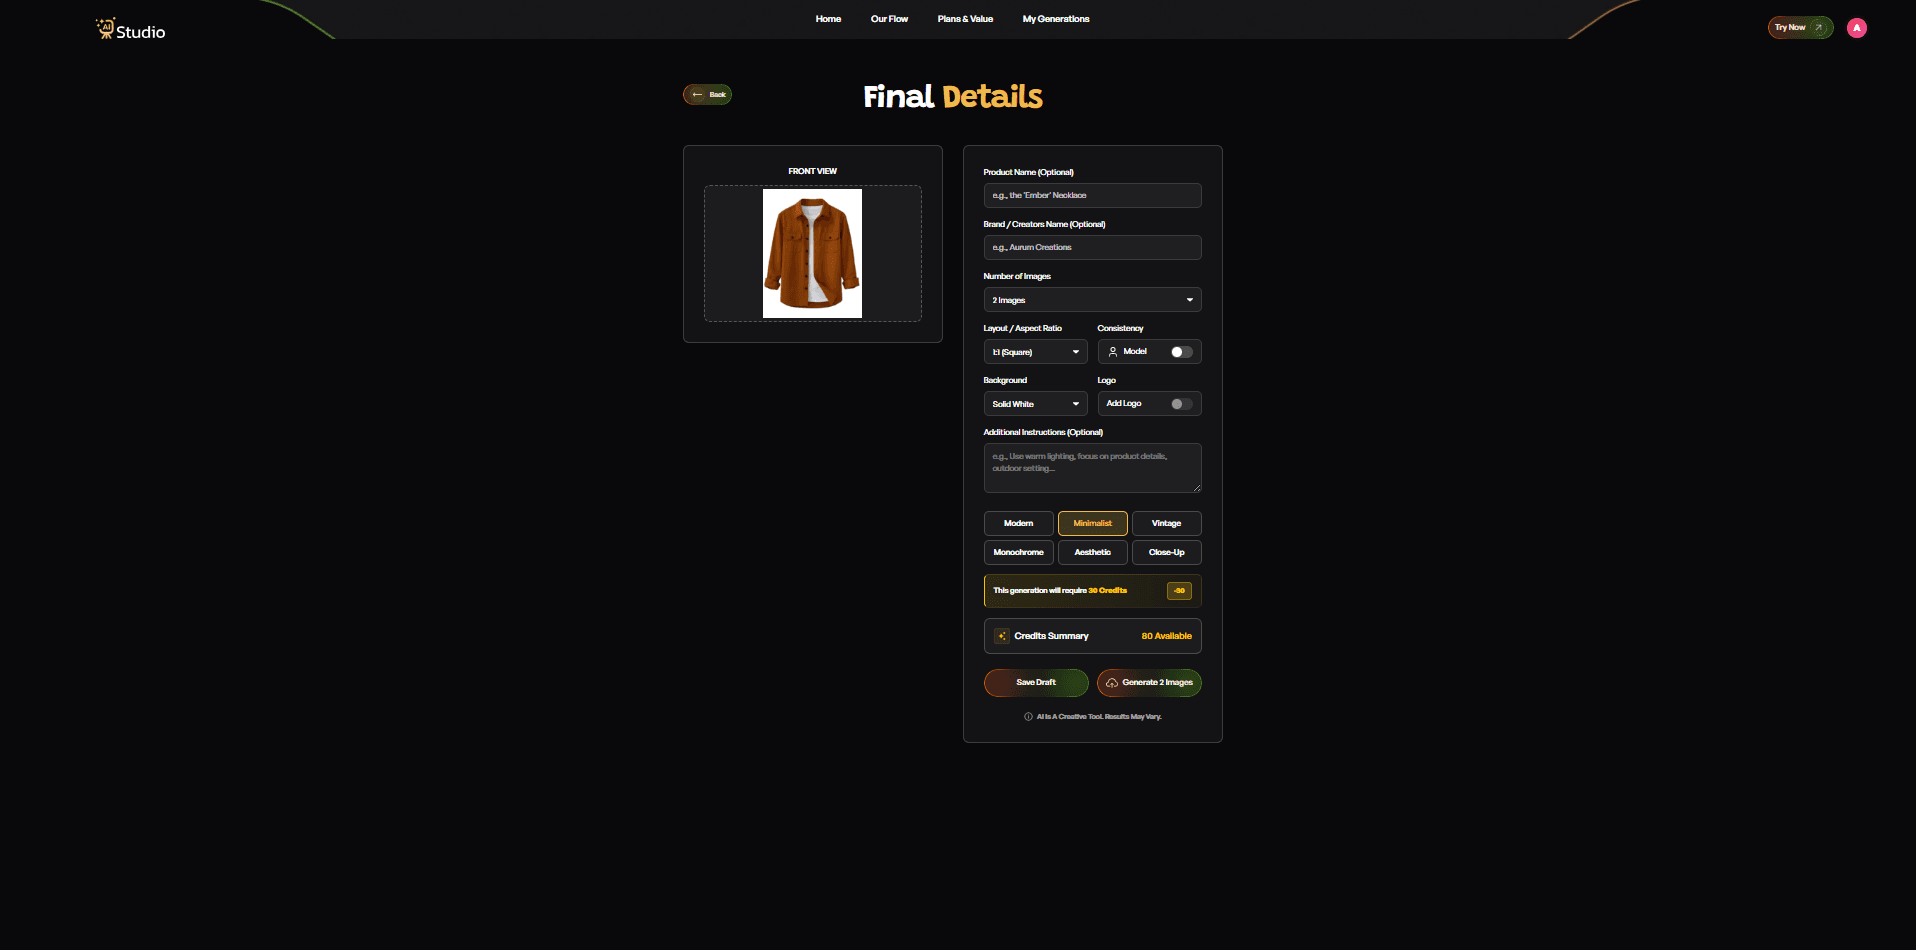 This is the most important setup step before generation. You will see several options to customize your output:
- Product Name and Brand Name: Optional, but helps with consistency if you are generating a full catalog
- Number of Images: Choose how many variations you want generated (2, 4, or more)
- Layout and Aspect Ratio: Select 1:1 square for Amazon and Instagram, 4:5 for Instagram feed, or 16:9 for banners and ads
- Model Consistency: Toggle this on if you want the same virtual model to appear across all images in your catalog. This is a great feature for fashion brands that want a consistent look throughout their listings.
- Background: Choose Solid White for your Amazon main image (this keeps you fully compliant with Amazon's requirements). For secondary lifestyle images, you can pick from various settings.
- Style: Pick from Modern, Minimalist, Vintage, Monochrome, Aesthetic, or Close-Up, depending on your brand feel
- Logo: Add your brand watermark if needed
- Additional Instructions: This is where you can type specific requests like "use warm lighting," "outdoor setting," "focus on the product texture," or "luxury feel with dark background."
Once everything is set the way you want, click Generate Images. The AI takes it from here.
Step 7: Download and Upload to Amazon Seller Central
 Within 10 seconds or so, your pictures are already ready.
Your product will appear on a virtual model or a high-end background scene, whichever one you have chosen. You can review all variations that you like, select those, and get them in full HD quality.
With AI Studio, you do not need to worry about watermarks and additional fees for HD-quality pictures.
One piece of advice that I give to all my clients is that they should not settle for the first option. Generate some more pictures in other backgrounds or styles, you will have a full picture set ready for your entire listing for free.
Once downloaded:
- Use your clean white background image as the main listing photo on Amazon
- Fill slots 2 to 7 with your lifestyle images, on-model shots, and detail images
- Resize to 2000 x 2000 pixels square format if needed (AI Studio exports in this size by default)
- Upload directly in your Amazon Seller Central account
That is your full workflow. What used to take 3 to 5 days and ₹15,000 or more now takes under 15 minutes.
AI vs Traditional Product Photography: Which Is Better for Amazon Sellers?
This is a very common query that I get asked by many sellers who are already working with traditional photography. Here is a straight comparison. You can also read a more detailed breakdown in this guide on AI product photography vs traditional photography.
Traditional photography is not bad. It has its value especially when it comes to some of the very premium brands or even macro photography. However, when it comes to the typical Indian ecommerce player with multiple SKUs, the economics do not make sense anymore.
| Factor | Traditional Photography | AI Product Photography |
|---|---|---|
| Cost | ₹10,000 to ₹50,000 per session | Starting at ₹600 per month |
| Turnaround time | 3 to 7 days | Under 10 seconds |
| Reshoots for errors | Expensive and time-consuming | Instant regeneration at no extra cost |
| On-model photos | Requires model booking and coordination | AI virtual models included |
| Consistency across SKUs | Difficult to maintain | Perfectly consistent every time |
| Location and studio access | Requires physical setup | Fully remote, works from anywhere |
| Flexibility for A/B testing | Not practical | Generate multiple variants easily |
Traditional photography holds only one advantage when it comes to hyper-realistic macro imagery of things such as grains in a leather wallet or micro-threading in a saree. In some instances, a professional photographer may use macro lenses to capture photos that AI technology is yet to catch up with.
However, this is just one category. Everything else is now easier, cheaper, faster, and more accessible with the help of AI technology even for the owner of a small business using AI product photography that deals with many SKUs at once.
The trend towards using AI vs traditional photography is now just that a necessity.
Pro Tips to Get the Best Results from AI Product Photography
Let me share a few things I have picked up from seeing sellers use these tools. These small adjustments make a noticeable difference in output quality. For a full breakdown, check out these AI product photography tips for ecommerce sellers.
Start with a clean product. This sounds obvious but it gets overlooked. Remove price stickers, wipe off fingerprints, iron out fabric wrinkles. The AI enhances your product, it does not clean it. Your input quality directly affects your output quality.
Shoot against a neutral surface. A plain white or light grey backdrop makes background removal cleaner and more accurate. If you shoot your product against a busy, patterned surface, the AI sometimes struggles with edge detection.
Do not settle for one result. Generate at least 5 to 8 variations per image. Experiment with different backgrounds, lighting tones, and styling. You will almost always find a version that is significantly better than the first one.
Fill all 7 image slots. Amazon gives you up to 7 image slots per listing. Use all of them. Your first image handles compliance. Your remaining 6 slots are your sales pitch. Use a mix of lifestyle backgrounds, feature callouts, and on-model shots if relevant. Learn more about creating high-converting ecommerce images using AI.
Use on-model photos for fashion and apparel. This is one of the biggest advantages of modern AI product photography with virtual models. You can show your clothing being worn without booking a model, coordinating a shoot day, or paying model fees. For D2C fashion brands, this is a massive cost-saving.
For jewelry and accessories, choose premium backgrounds. Velvet textures, soft gradient backdrops, or clean black and white studio settings tend to perform best for rings, necklaces, earrings, and watches. A dedicated AI product photography tool for accessories like AI Studio gives you these settings built in.
Think about consistency across your entire catalog. If all your product images use the same background style and lighting tone, your storefront looks professional and cohesive. Buyers trust brands that look consistent. This is especially important for marketing agencies handling automated product photography at scale for multiple clients.
These are the product photography tips for sellers that actually move the needle when you put them into practice.
Conclusion
No more struggles with expensive and time-consuming product photography for Amazon listings. By leveraging the power of advanced AI technology, it is now possible for you to produce stunningly realistic product images for Amazon listings using AI at a fraction of the cost and hassle involved in traditional methods.
If you are an online Indian retailer selling items such as fashion, jewelry, housewares, and accessories, the entire process involves taking an uncluttered base photograph, uploading it, selecting the style, generating the image, and publishing. That is all there is to it and it only takes a few minutes.